Watch a VIDEO covering the same topic!
Synopsis
This information is generally universal for most modern wireless routers; however, we cannot guarantee that it will work with them all. We recommend having the
owner's manual of your particular router on hand in case you need to clarify steps 1 & 2, covered in this guide. In order to get the Ui mixer to communicate with your wireless router, we're going to have to make some changes to the the Ui mixer's LAN configuration.
Wireless Router & Ui Mixer IP Configuration
First, we need to gather some information from your wireless router in order to configure the Ui mixer's LAN Configuration. If you already know the IP Address & Subnet Mask of your wireless router, skip to Step 3.
Step 1
Login to the wireless router's network via WiFi connection with either a computer, smart phone, tablet, or iPad. In this example, we're utlizing a Linksys wireless router for demonstration.
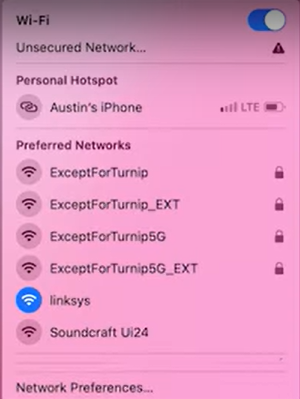
Step 2According to the owner's manual of the router, the IP address is 192.168.1.1. This IP address is considered the Gateway in the Ui mixer's LAN configuration settings. We'll use this address to access the wireless router's web GUI configuration window by utilizing a web browser.
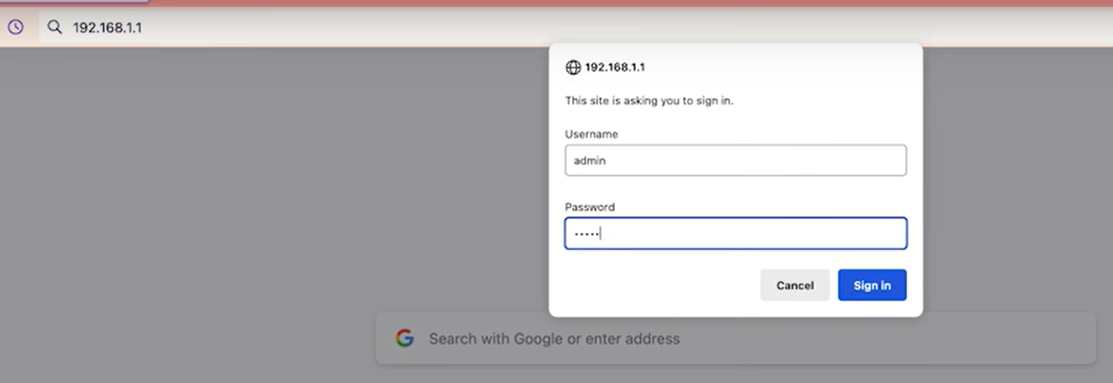
Open a browser of your choosing, e.g, Chrome, Safari, Firefox, Edge, etc... and type in the IP address of the wireless router in the browser's address bar, as seen below. As seen below. you will most likely be asked to provide a user name and password to access the router's configuration window. For Linksys, the user name is "admin", the password is also "admin". Should this not work for your router, the owner's manual (associated to your wireless router) will provide this information.
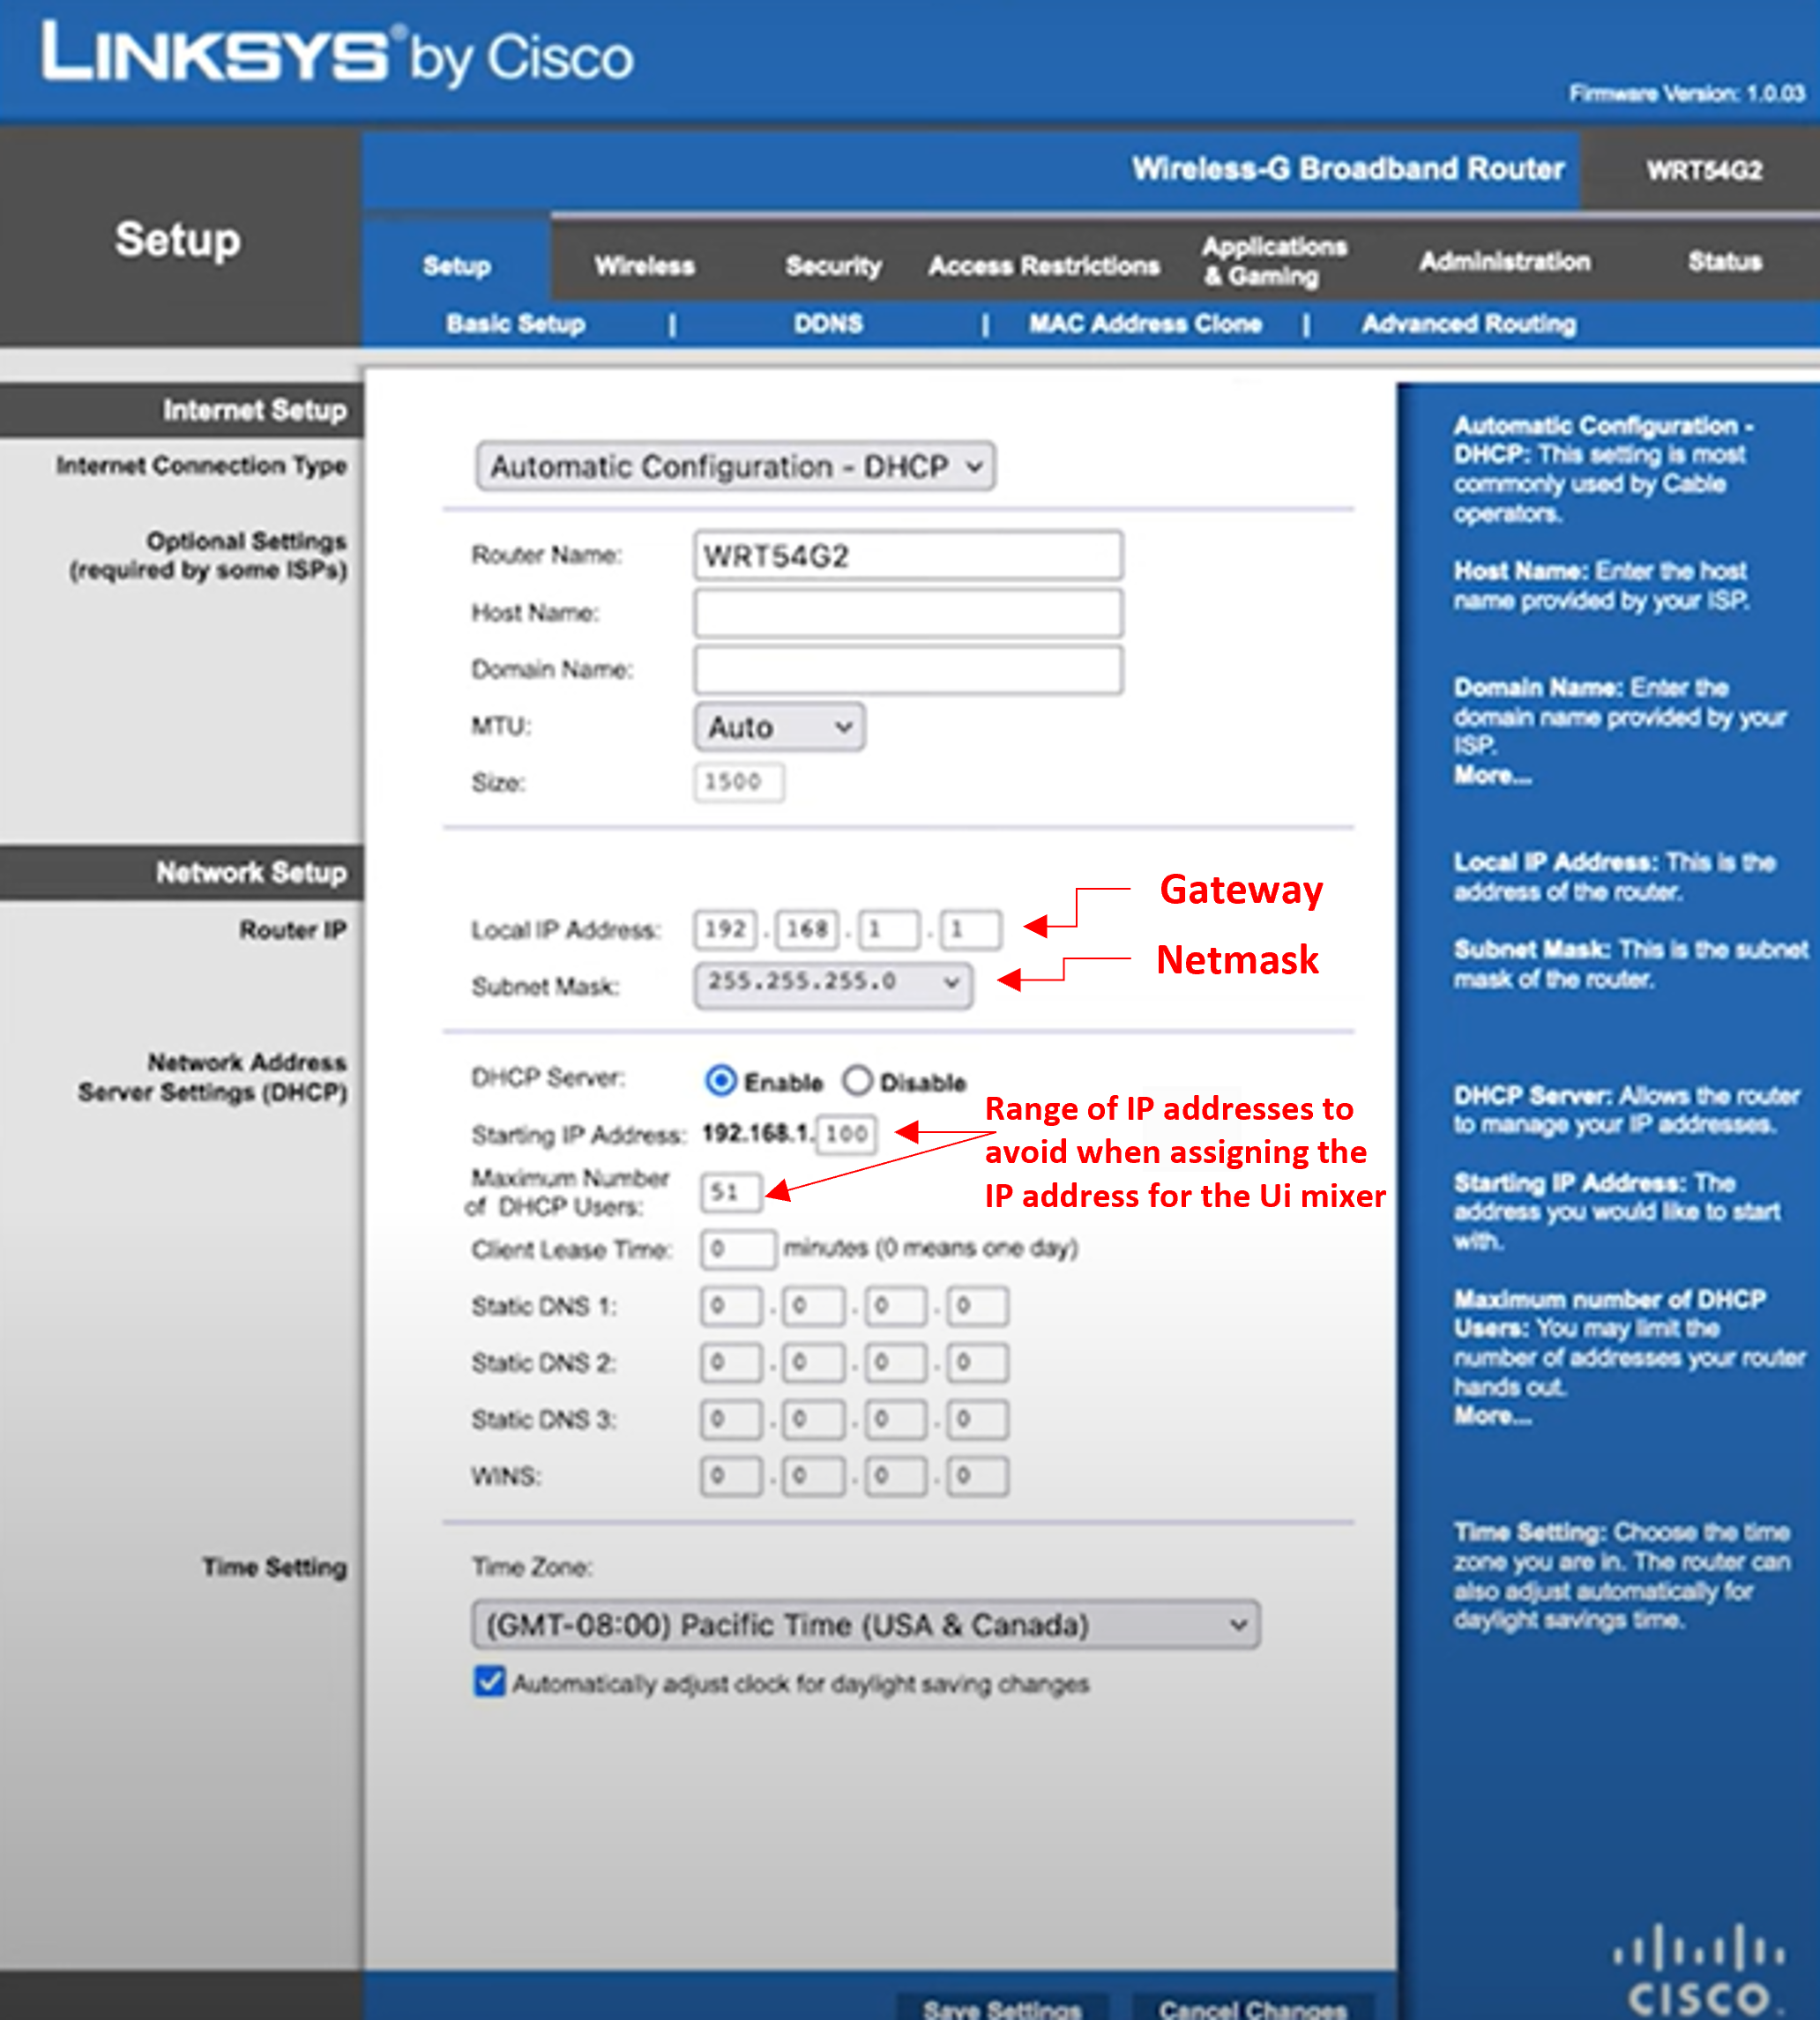
As we can see below, the Subnet Mask (referenced as "Netmask" in the Ui mixer's LAN Configuration window) is "255.255.255.0". Let's make note of this somewhere for later use. We'll also want to make sure that DHCP is enabled on the router. As seen below, this particular router has a DHCP range of "192.168.1.100 - 192.168.1.150", enabling a total of 51 DHCP devices. This means that any device connecting to the router, via WiFi, will be given one of these addresses, automatically. Part of our objective, during this process, is to give the Ui Mixer a LAN IP address that falls within the IP range of the wireless router's network. Let's stay away from the DHCP addresss that are allocated by the wireless router when assigning an IP address to the Ui mixer since we'll be assigning a static (manual) IP address to it. We can pick any address that's not the Gateway or within this range of DHCP addresses. In this example, we'll be assigning the Ui mixer's LAN IP address to "192.168.1.200". Take note of this address for later use in Step 6.
Step 3
Sign on to the Ui mixer's hotspot with the same device we used to access the wireless router's configuration window in Step 2, e.g, computer, smart phone, tablet, or iPad.
Step 4
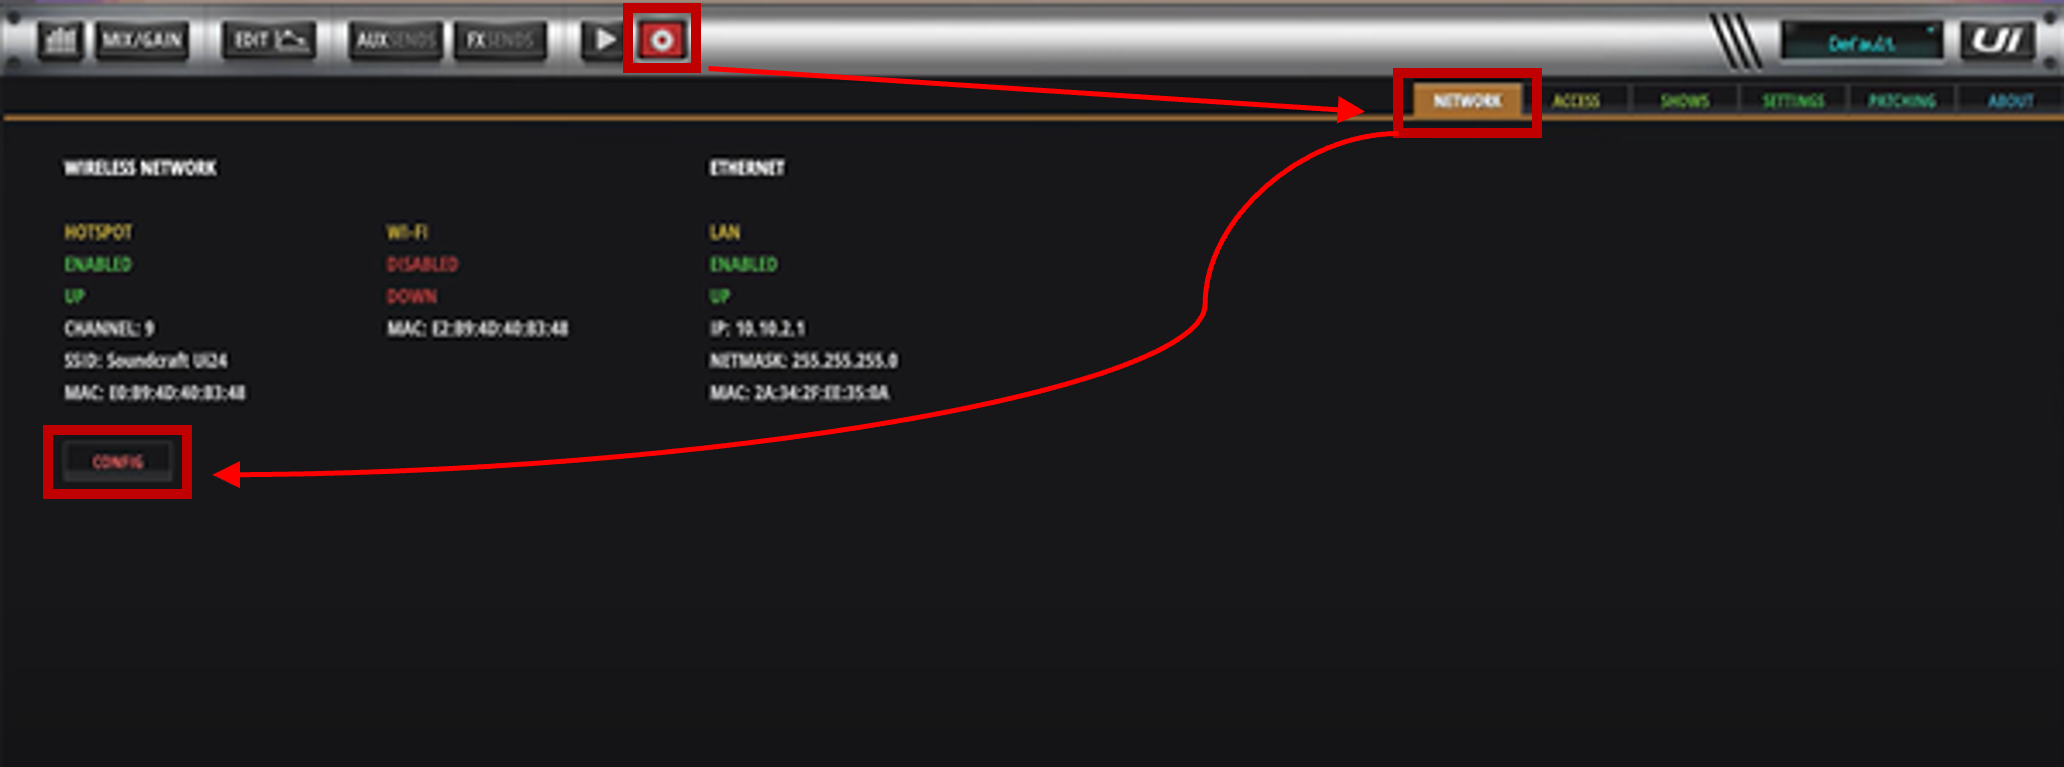
Using the web browser, type in the address "10.10.1.1" or "ui-mixer.io". Either option will work the same when accessing the Ui's GUI via the Ui's Hotspot. Select the GEAR icon, then the "Network" tab, then the "CONFIG" button.
Step 5
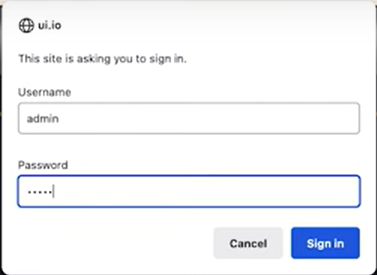
Login using the following credentials: user = "admin", password = "admin", then select "LAN Configuration".
Step 6
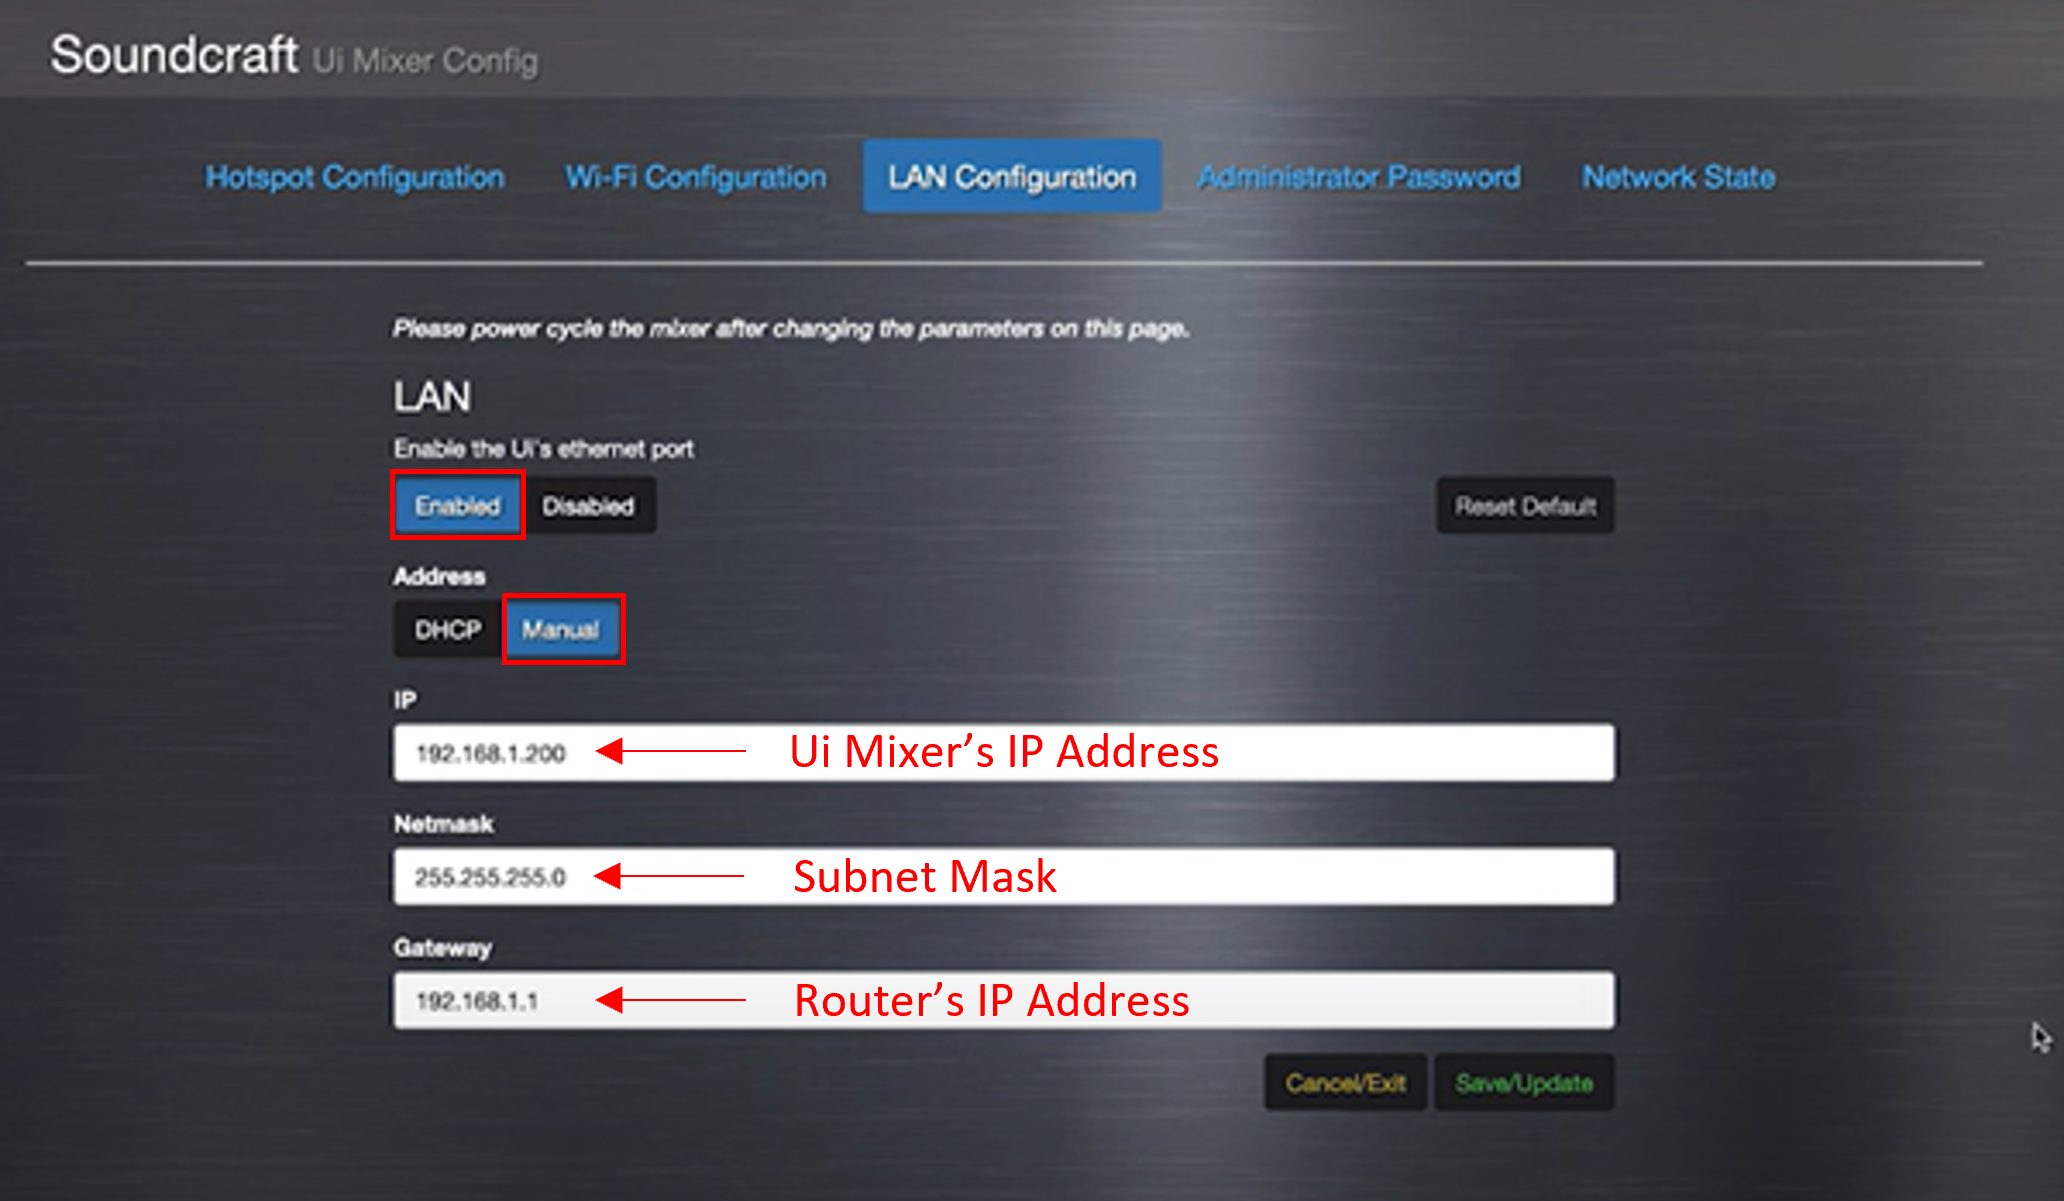
Leave the Ui Ethernet port "Enabled". Leave the Address set to "Manual". Edit the Ui Mixer's IP Address to be "192.168.1.200". The Netmask is already correct if your wireless router is utilizing a Subnet Mask of "255.255.255.0". Make the necessary edits to the Netmask field if your router is set differently. Edit the Gateway to equal your Router's IP Address. In this example, the Gateway is "192.168.1.1".
Step 7
Click "Save/Update" (wait until the page refreshes). Power cycle the Ui mixer to finalize the saving process by powering it off for 15 seconds, then power the Ui mixer back on.
Step 8
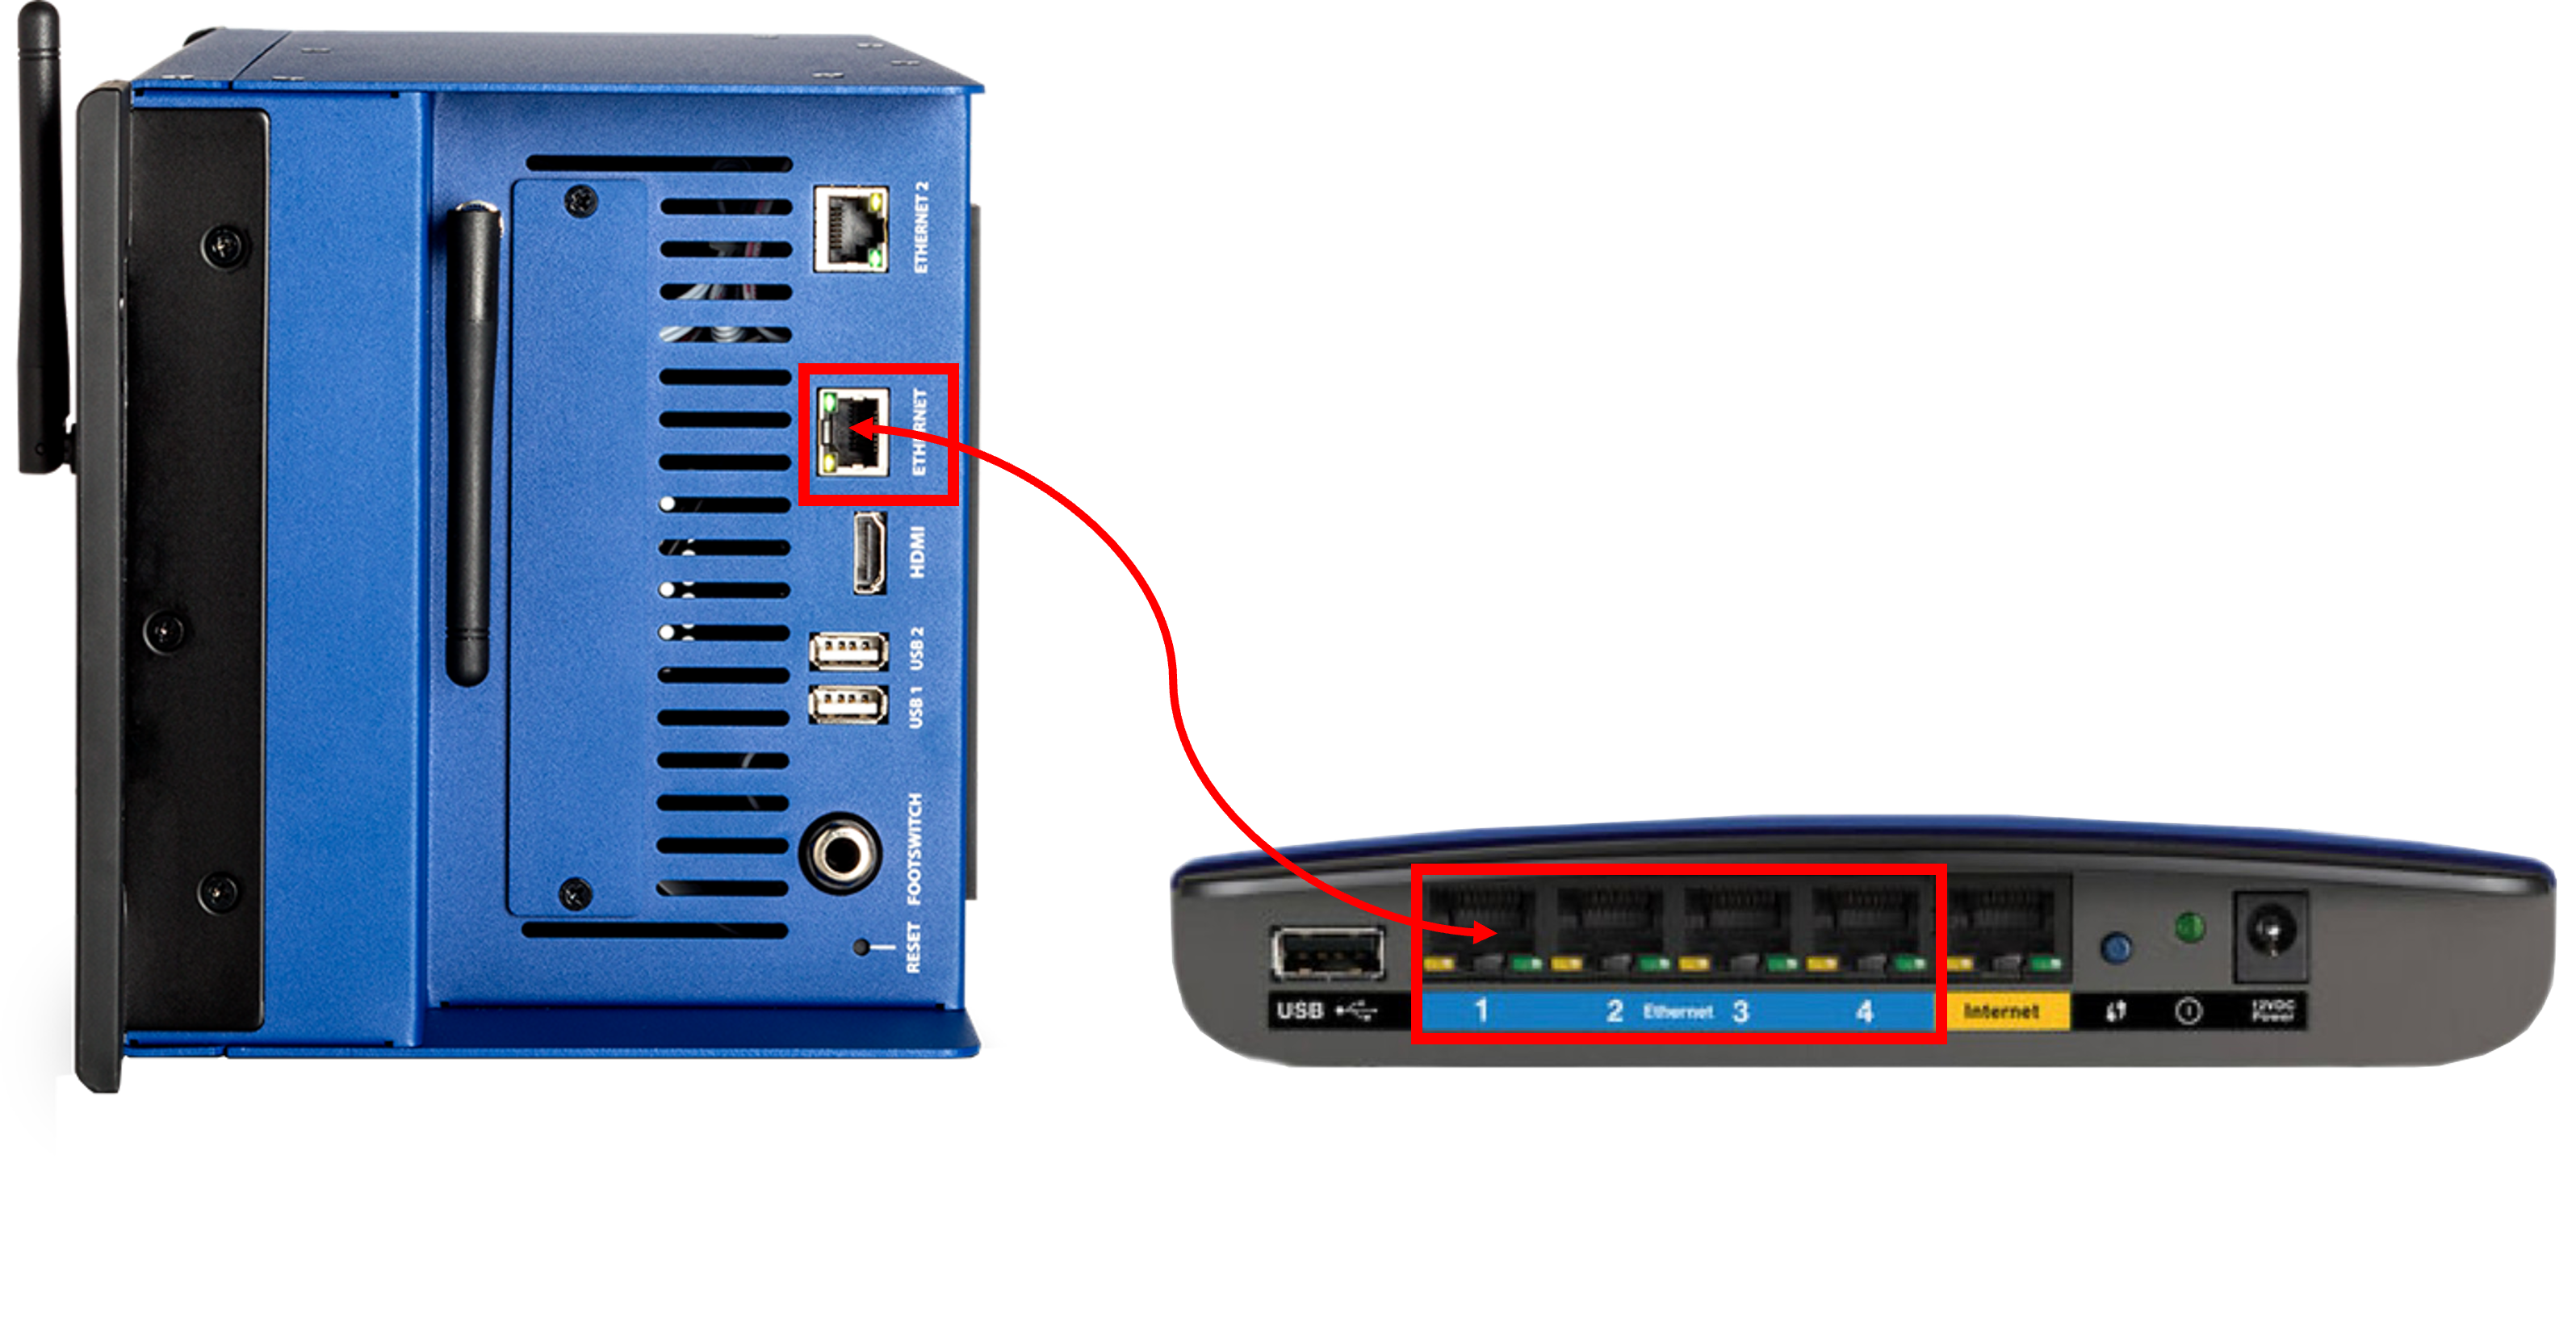
Connect an Ethernet cable from the Ui mixer's Ethernet port to one of the router's Ethernet ports . Make sure to use a LAN port (Ethernet), NOT the WAN (Internet) port of the router. Internet use/connectivity is not necessary for this application.
Step 9
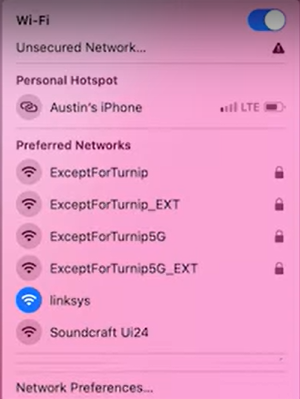
Login to the wireless router's WiFi network with a computer, smart phone, tablet, or iPad.'s wireless network.
Step 10
Open your browser (Chrome, Safari, Firefox, Edge, etc...). Instead of navigating to the usual "ui-mixer.io" or "10.10.1.1" page, utilize the new IP address we just assigned to the Ui mixer: "192.169.1.200" by typing it into the brower's address bar, then press enter.
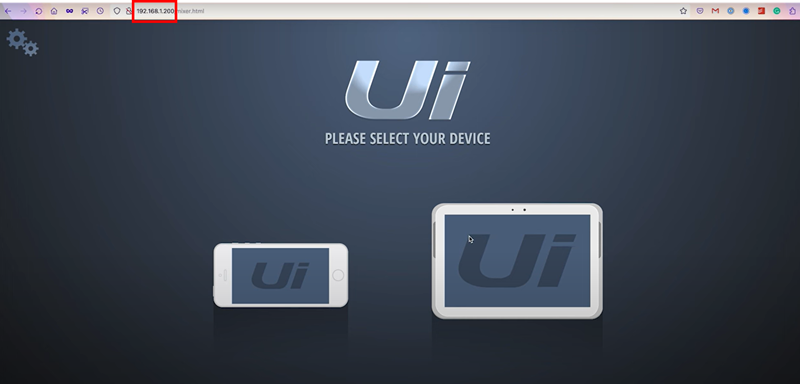
- You are now controlling your Ui Mixer via the LAN/Ethernet port using an external router.
- You can create a shortcut to the Ui Mixer's Web GUI (the "192.168.1.200" address) for easier access by creating a Bookmark of the page in your Browser.
- We recommend leaving the Ui mixer's Hotspot enabled for an alternate method to access the GUI.
If you're in need of further assistance, please contact Technical Support.