Question:
How do I transfer my Schoolview XML's to the Master?
Answer:
1. Download and install Filezilla; https://filezilla-project.org/download.php?platform=win64
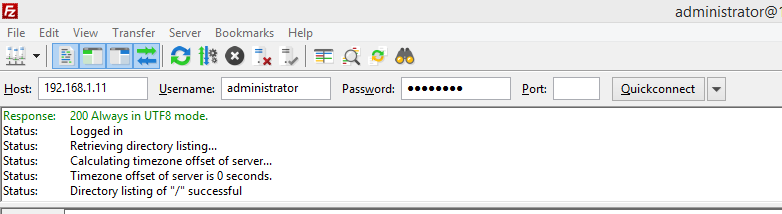
2. Enter the IP address of the Primary Master in the “Host" field. Highlighted in Yellow

3. Username is usually the default “administrator" unless it has been changed.


4. Password is usually the default “password" unless it has been changed.

5. You can leave the Port field blank (Only change if you are using an FTP port number other than default.)
6. Click “Quickconnect"
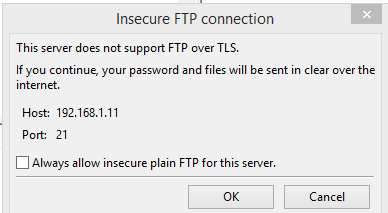
7. You may get the following popup. If so, just click ok. If you don't want to be notified of this each time you connect to the master, check the box for “Always allow insecure plan FTP for this server."

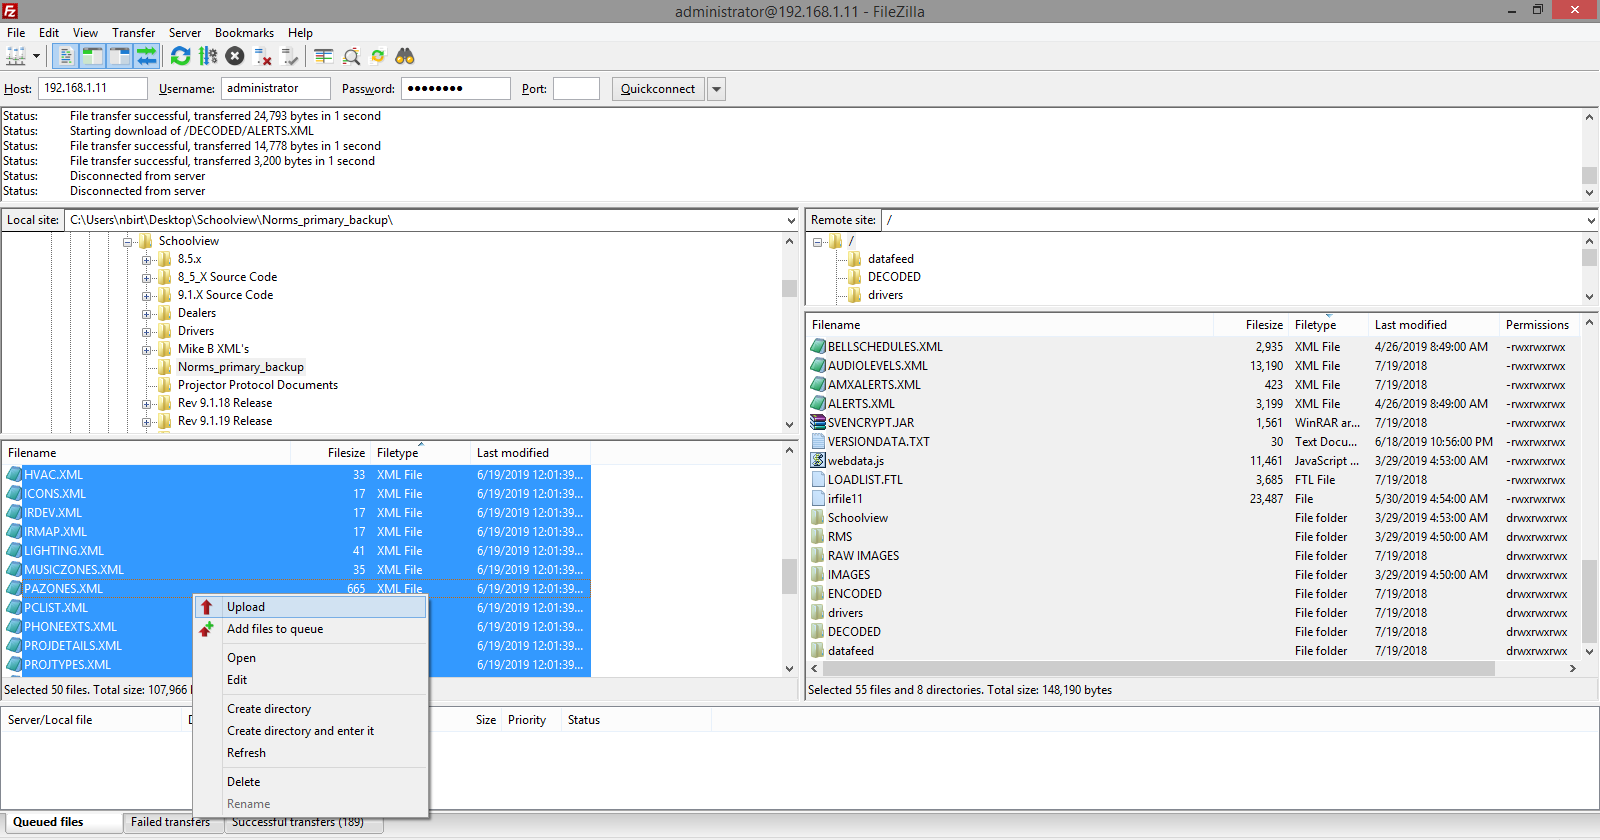
8. If you successfully connect, you should see the following information in the status section.

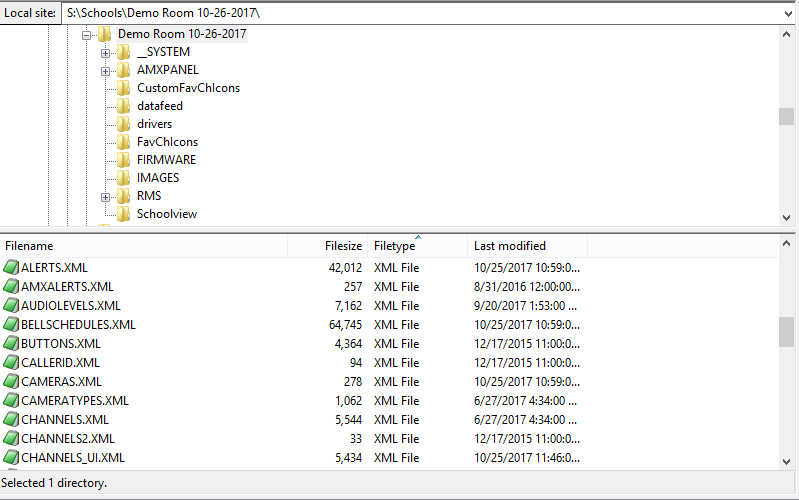
9. The left side of the screen shows your local files. The upper portion is the standard Windows tree structure. Use this section to navigate to where you have your Schoolview files stored on your PC.
10. The right side of the screen shows the Remote files (the FTP storage of the Netlinx Master). The upper portion is the standard Windows tree structure. Use this section to navigate to where you have your Schoolview files stored on your Netlinx Master.
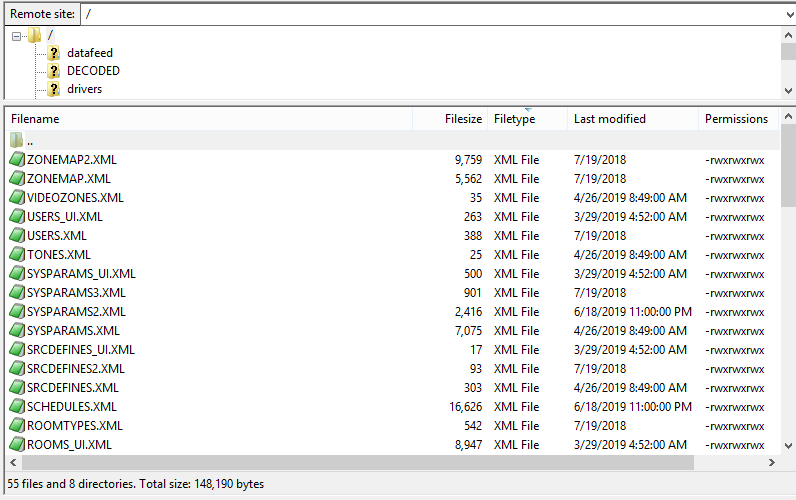
11. If you have an existing schoolview system, be sure to copy the existing files as a backup, or if AMX Tech Support asks you for a copy of your site files. Highlight the files on the Master (right hand side), then either right click and select Download, or drag the files from the right (Remote Site) to the left (Local Site) folder.


12. To upload new or updated XML files from your computer to the Master, just follow this process in reverse. Select your files on the left (Local Site), right click on them and select Upload.

13. Once new files have been successfully uploaded to the Primary Master, reboot the Primary master. The new files are read by the system only during boot.
