In some applications, it is common to have identical control panels for different areas of the system. These control panels have the same functionality, but address different parameters for other areas or outputs. A common example of this is a convention center with many rooms, or any design with a large number of controllable parameters such as a mixers input channel strips etc. This guide will illustrate how to create multiple panels in a fraction of time using Sub Configurations, Duplicate Panel and remapping controls.
Creating the Configuration and Control Panel
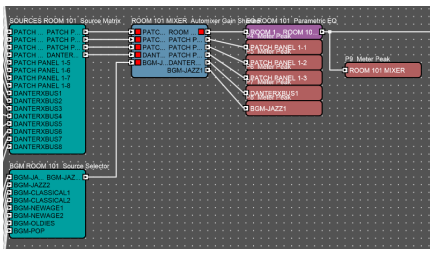
Start by creating the audio signal flow and processing for a single room. Next build the control panel for this room. This example will be typical of a convention center and this control panel will be used for all the rooms through duplication. This example venue may have dozens or hundreds of rooms. Build the configuration and the panel so that it will work for any of the rooms even if there is slight variation in the number of inputs or outputs. Look at the room with the most inputs and outputs and start with that. It is easier to remove a few controls later than to add them. For the sake of simplicity, the signal flow has been organized so all of the controls for the room are next to each other in the first Digital Signal Processor [DSP], but controls can come from any processing object within this or other devices in the system.
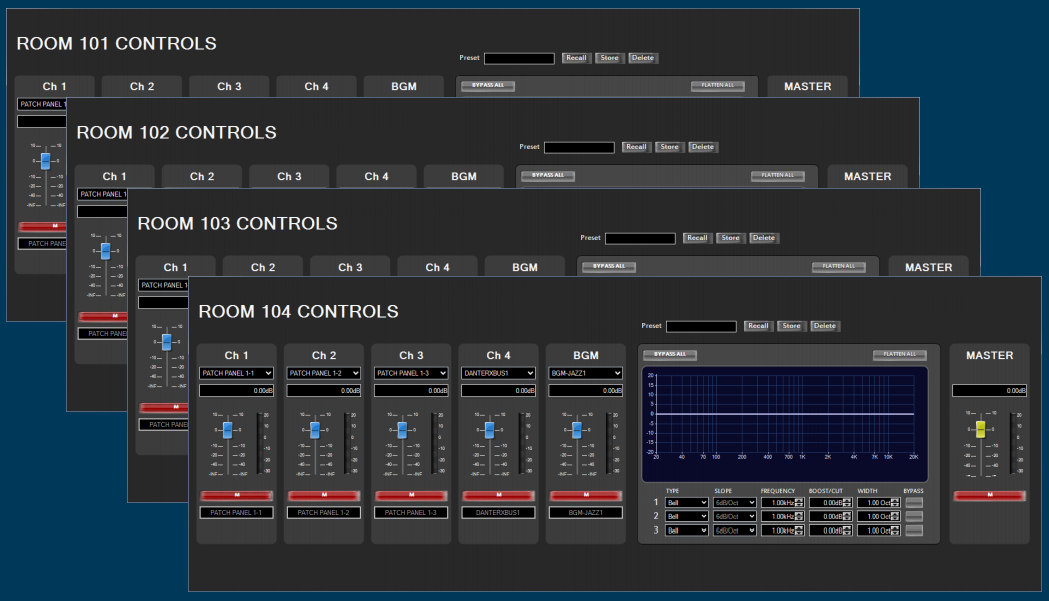
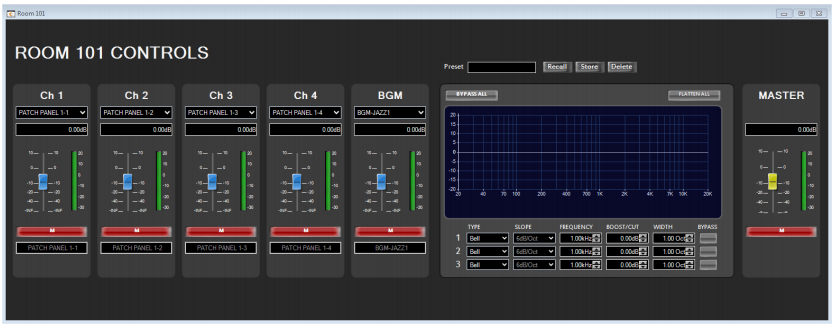
Here is the user panel for the first room. It is a five input mixer with source routing, basic EQ and master volume.
Creating the Sub Configuration
To create a Sub Configuration select all of the controls for the room and then right click and choose Create Sub Configuration. This will create a single block containing all of the processing and controls for a single room. Name the block in the properties window for easy reference later.

Next, copy and paste the entire block to create a new block for our second room. Rename this new block in properties to the name of the second room. This new configuration may be either in the same DSP or in a different DSP, depending on the requirements of the design. Now there are two identical blocks with the same configuration.
Duplicate Panel
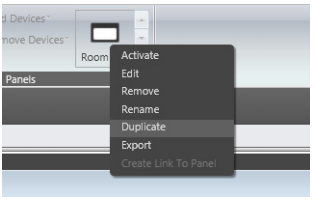
Normally at this point you would create the control panel for the second room much the same way you created the first control panel, but this can be very time consuming. The Duplicate Panel feature allows for the creation of another panel with just a few clicks. Simply right click on the control panel Icon in the ribbon at the top of Audio Architect and select Duplicate.
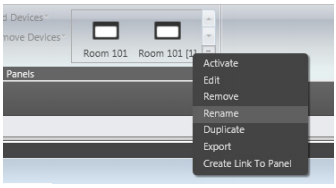
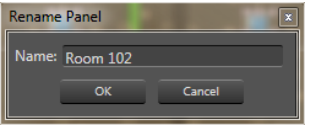
Next, right click on the new panel in the ribbon and Rename the panel to the correct name.
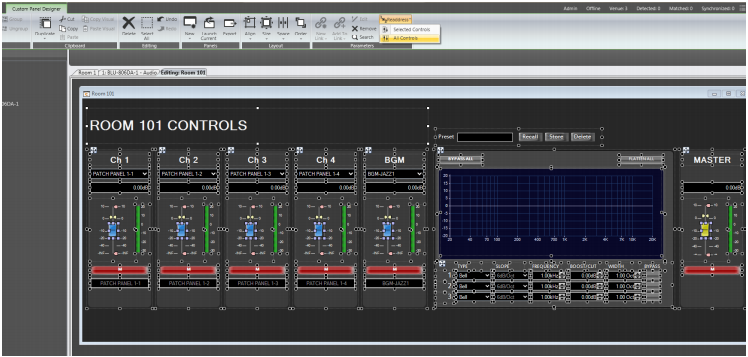
Readdressing Controls
Right click on the new panel in the ribbon and choose Edit. Select any of the controls on the panel. Select Readdress from the Parameters section of the ribbon at the top of Audio Architect, then select All Controls.
Select Readdress from subconfiguration to subconfiguration.
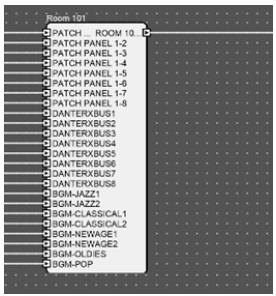
The list of Sub Configurations in our venue will appear in the next dialog. Choose the new Sub Configuration you want to map the control panel to.

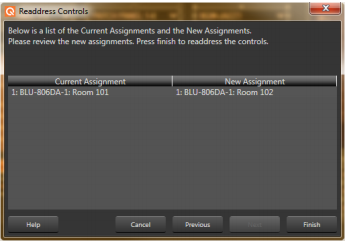
Select finish on the next dialog and now our second room custom panel has been re-mapped.
We can now repeat the process as needed for each additional room.
In summary, creating Sub Configurations and readdressing controls can greatly reduce the amount of work and potential for errors when creating custom control panels for projects.
