Since the release of firmware version 1.8.70 for the AcendoBook panels, scheduling panels have been able to connect to AMX's Resource Management Suite (RMS) in order to utilize Modern Authentication to Office 365. After you have finished updating the panel firmware and installed and configured RMS, the next step is to configure the panels to communicate with RMS. This guide will explain the necessary configuration details needed to setup the connection and walk you through the steps necessary to connect the panel to RMS.
Calendar Configuration
In order to configure the panel to connect to RMS. Go to the Scheduler Settings of the panel and select the Calendar tab. Inside that tab is a new radial button at the top right labeled Resource Management Suite. After clicking that radial button there are several items that must be configured.
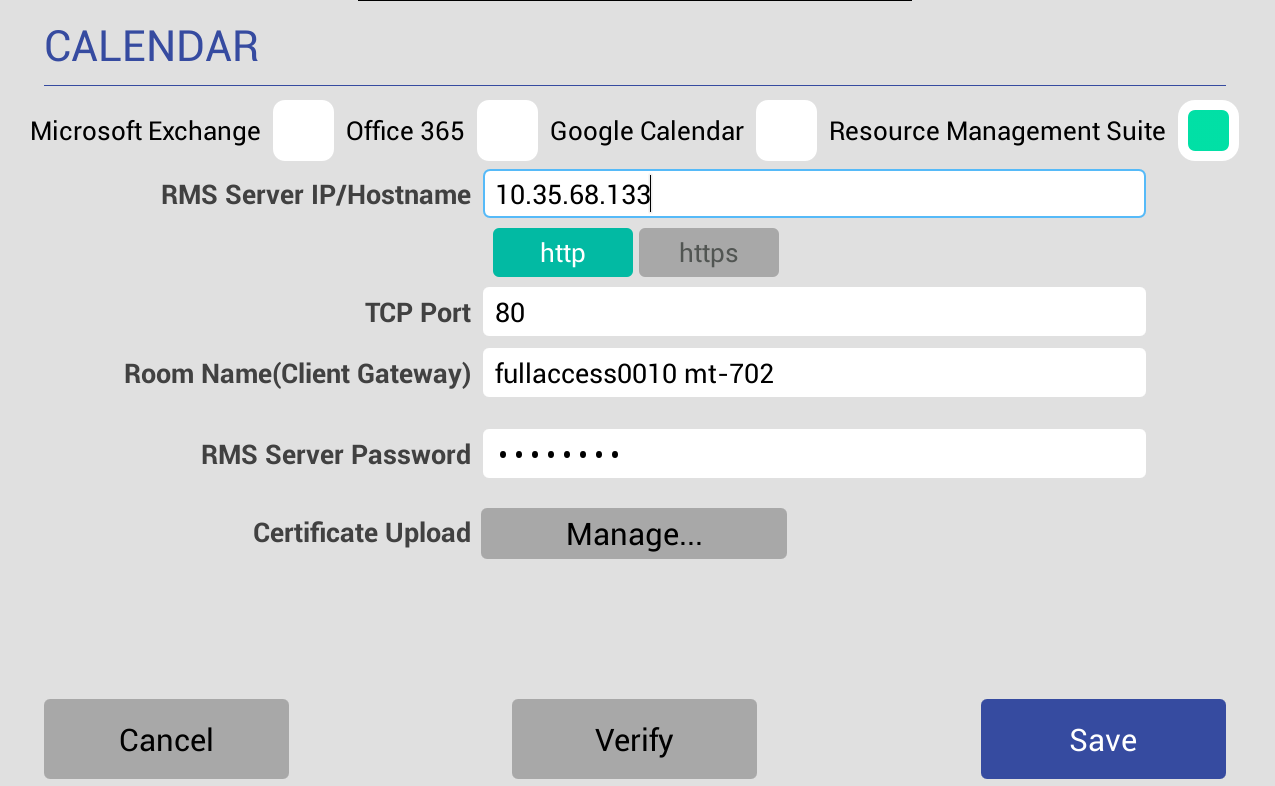 Image of RMS configuration on the panel.
RMS Server IP/Hostname: Enter in the IP address or the hostname of the RMS webserver the panel will be connecting to.
HTTP/HTTPS Button: Choose the protocol you will use to connect to the RMS server. If you choose HTTPS you will have to load a certificate to the panel using the Manage... button.
TCP Port: Enter in the TCP network port that RMS was configured to use. Normally this is port 80, but could be any number. Verify this information with the team who built the server.
Room Name(Client Gateway): This is a friendly name given to the panel so that it can be easily identified when it connects to RMS.
RMS Server Password: In RMS there is a built in username of 'client'. All devices connect to RMS with this bult in username. Enter the password for that username in this field.
Certificate Upload / Manage Button: If you choose to use HTTPS to connect to RMS, this is where you will load a certificate to the panel in order for the communication to be properly secured.
Completing the Connection to RMS
Once all of the proper configuration information has been entered into the Calendar tab. The following steps must be performed to finish connecting the panel to RMS.
Note: This assumes that all configuration has been done for Locations in the RMS server, and your Resource Profiles have been properly mapped.
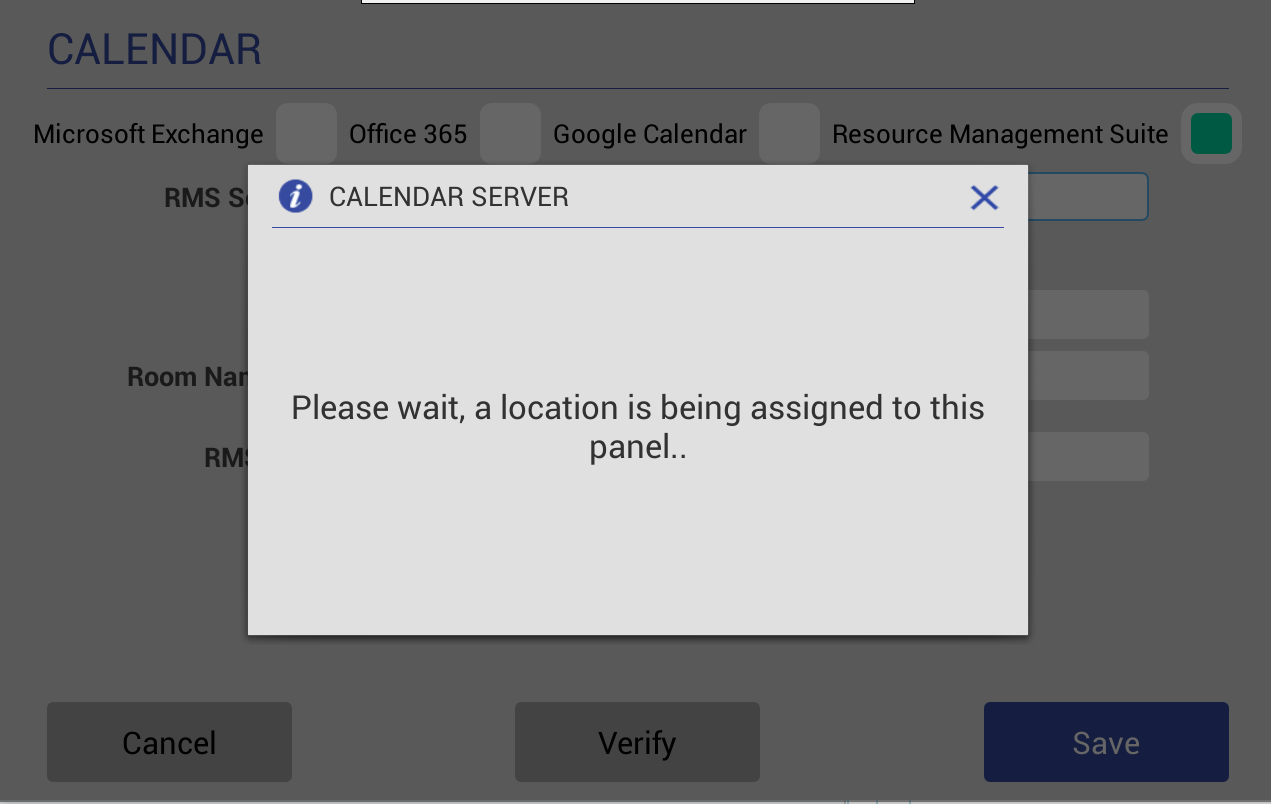
- Click the Save button at the bottom right-hand side of the screen. The following message will appear:
- Login to the RMS server to view the Hotlist. A new Client Gateway will appear in the list with the green "New" icon.
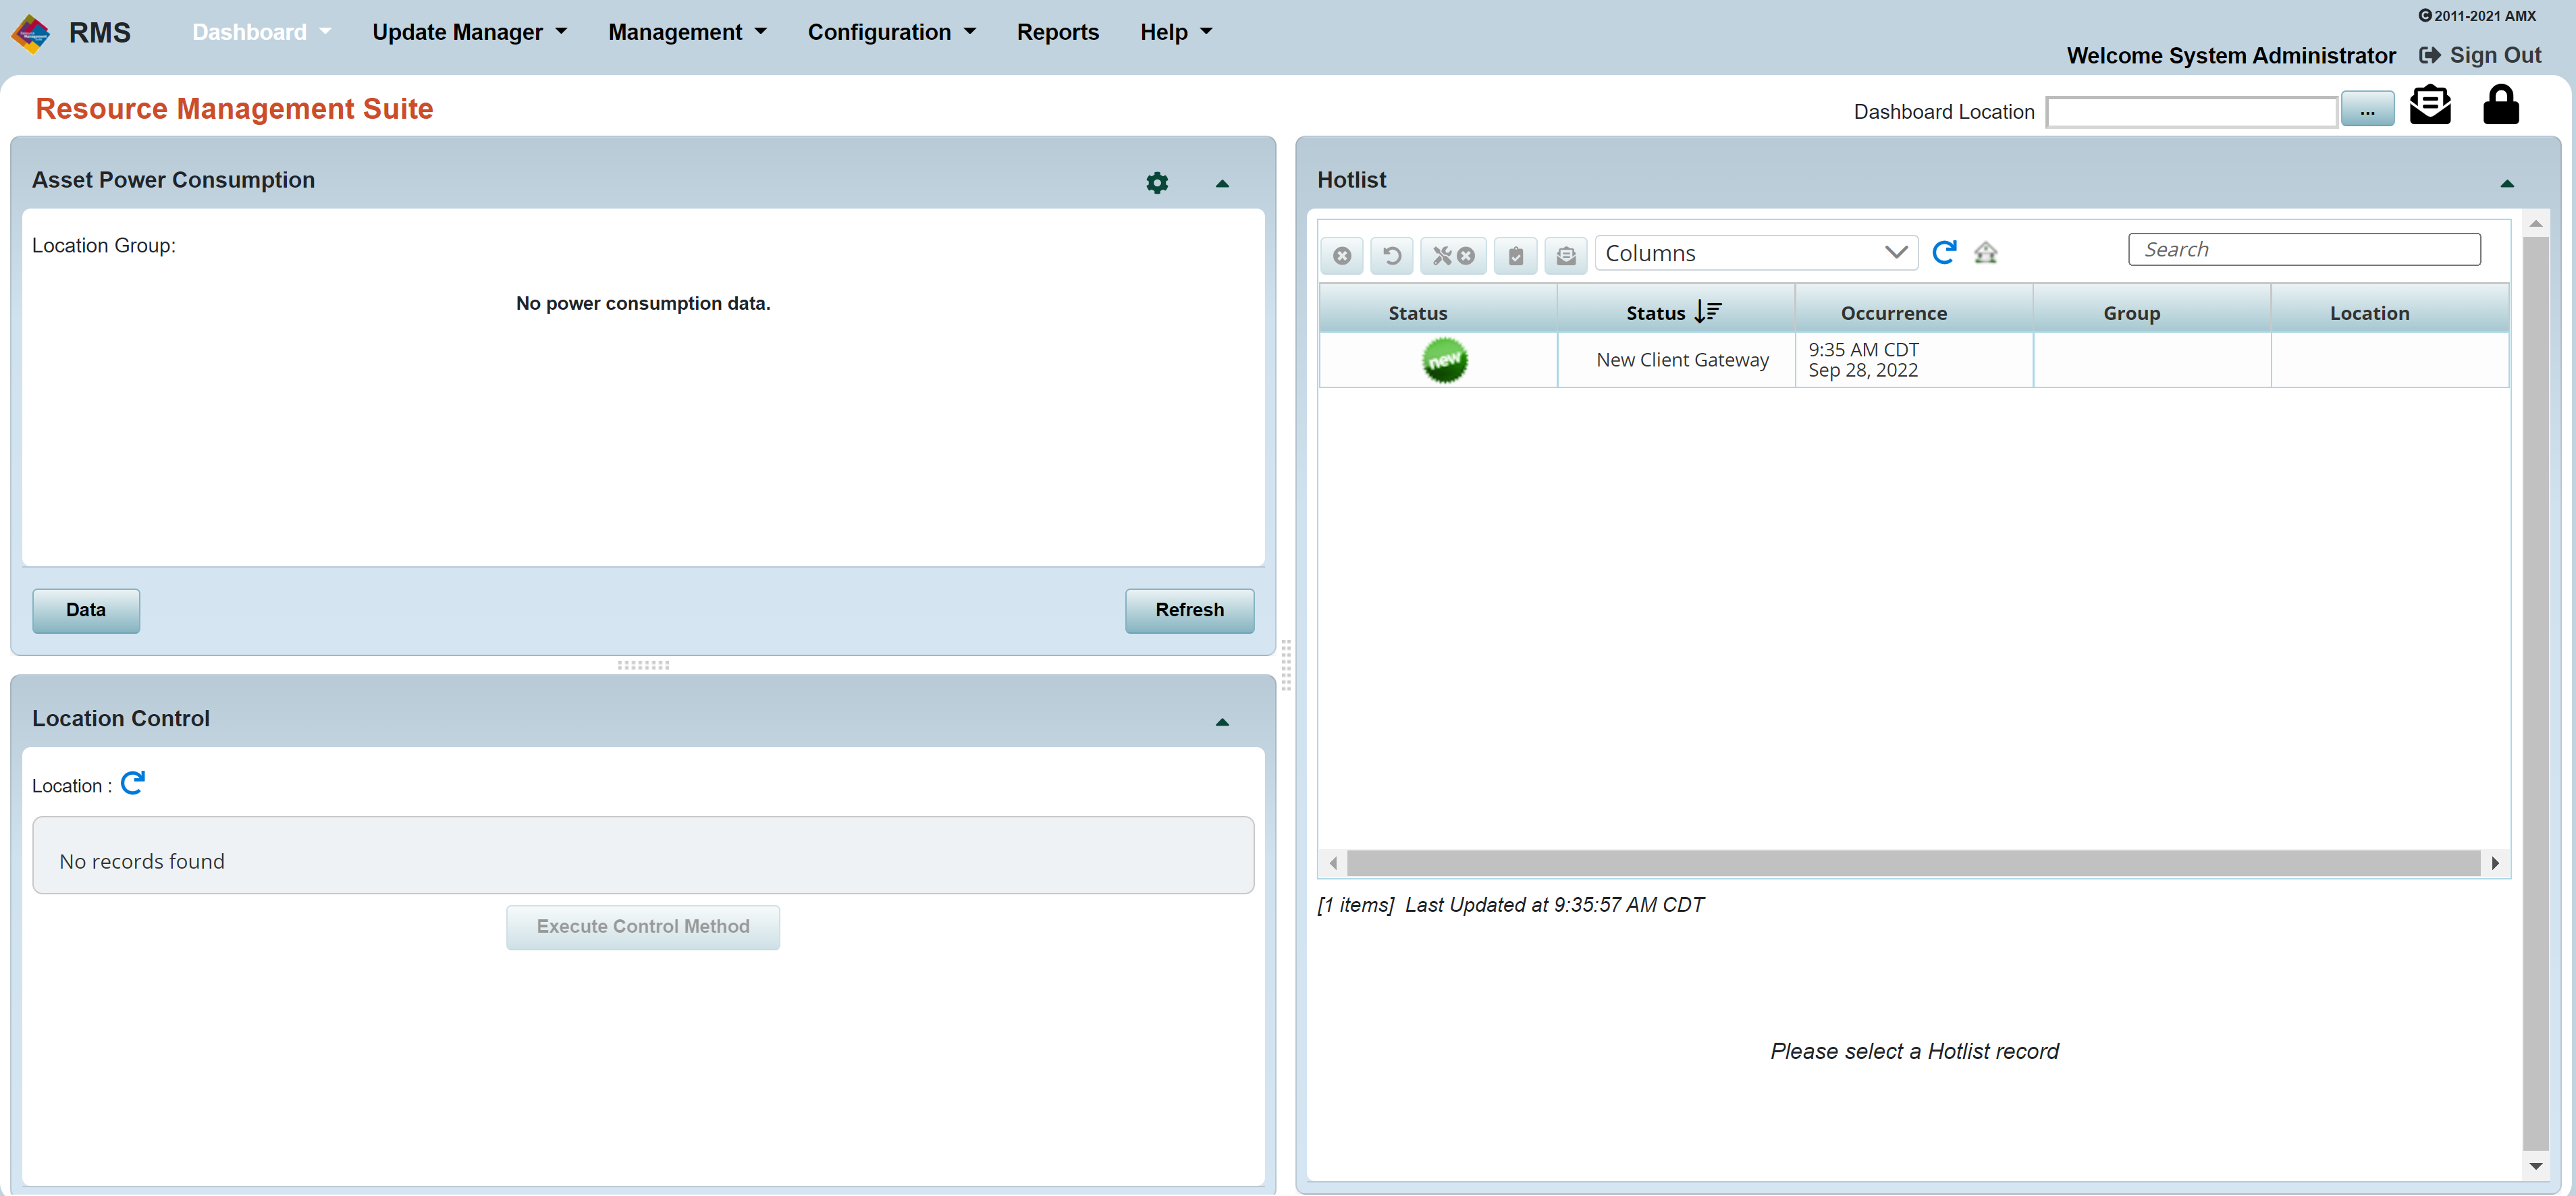
- Click on the entry in the Hotlist.
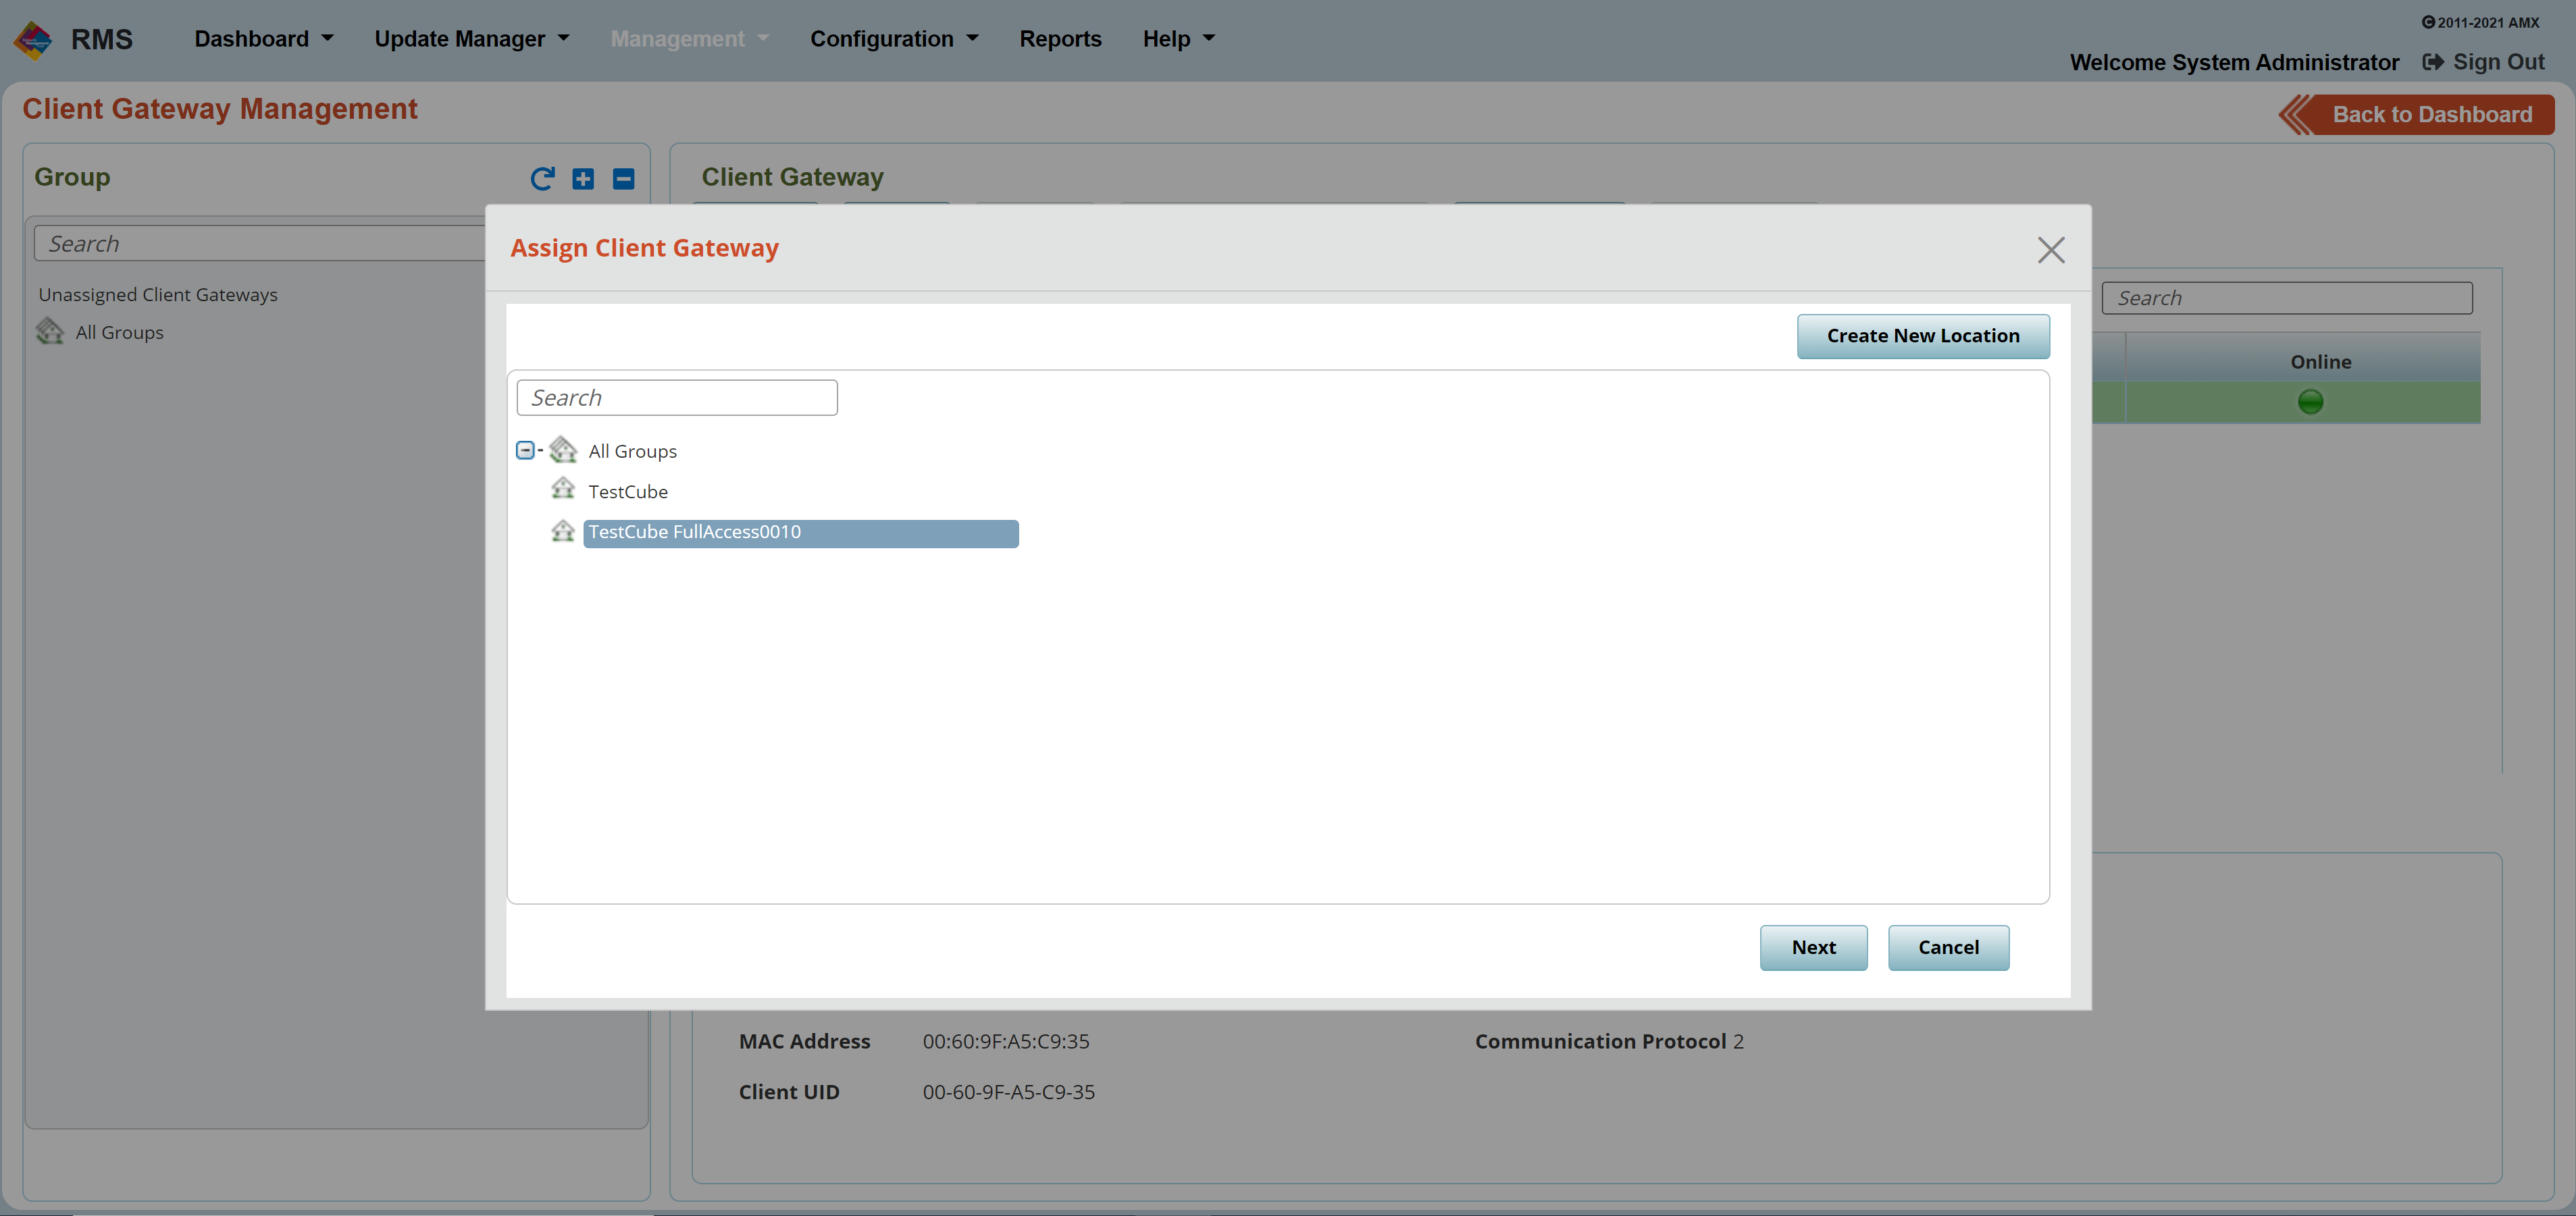
- Click the Assign Client Gateway button under the Client Gateway tab at the bottom of the screen.
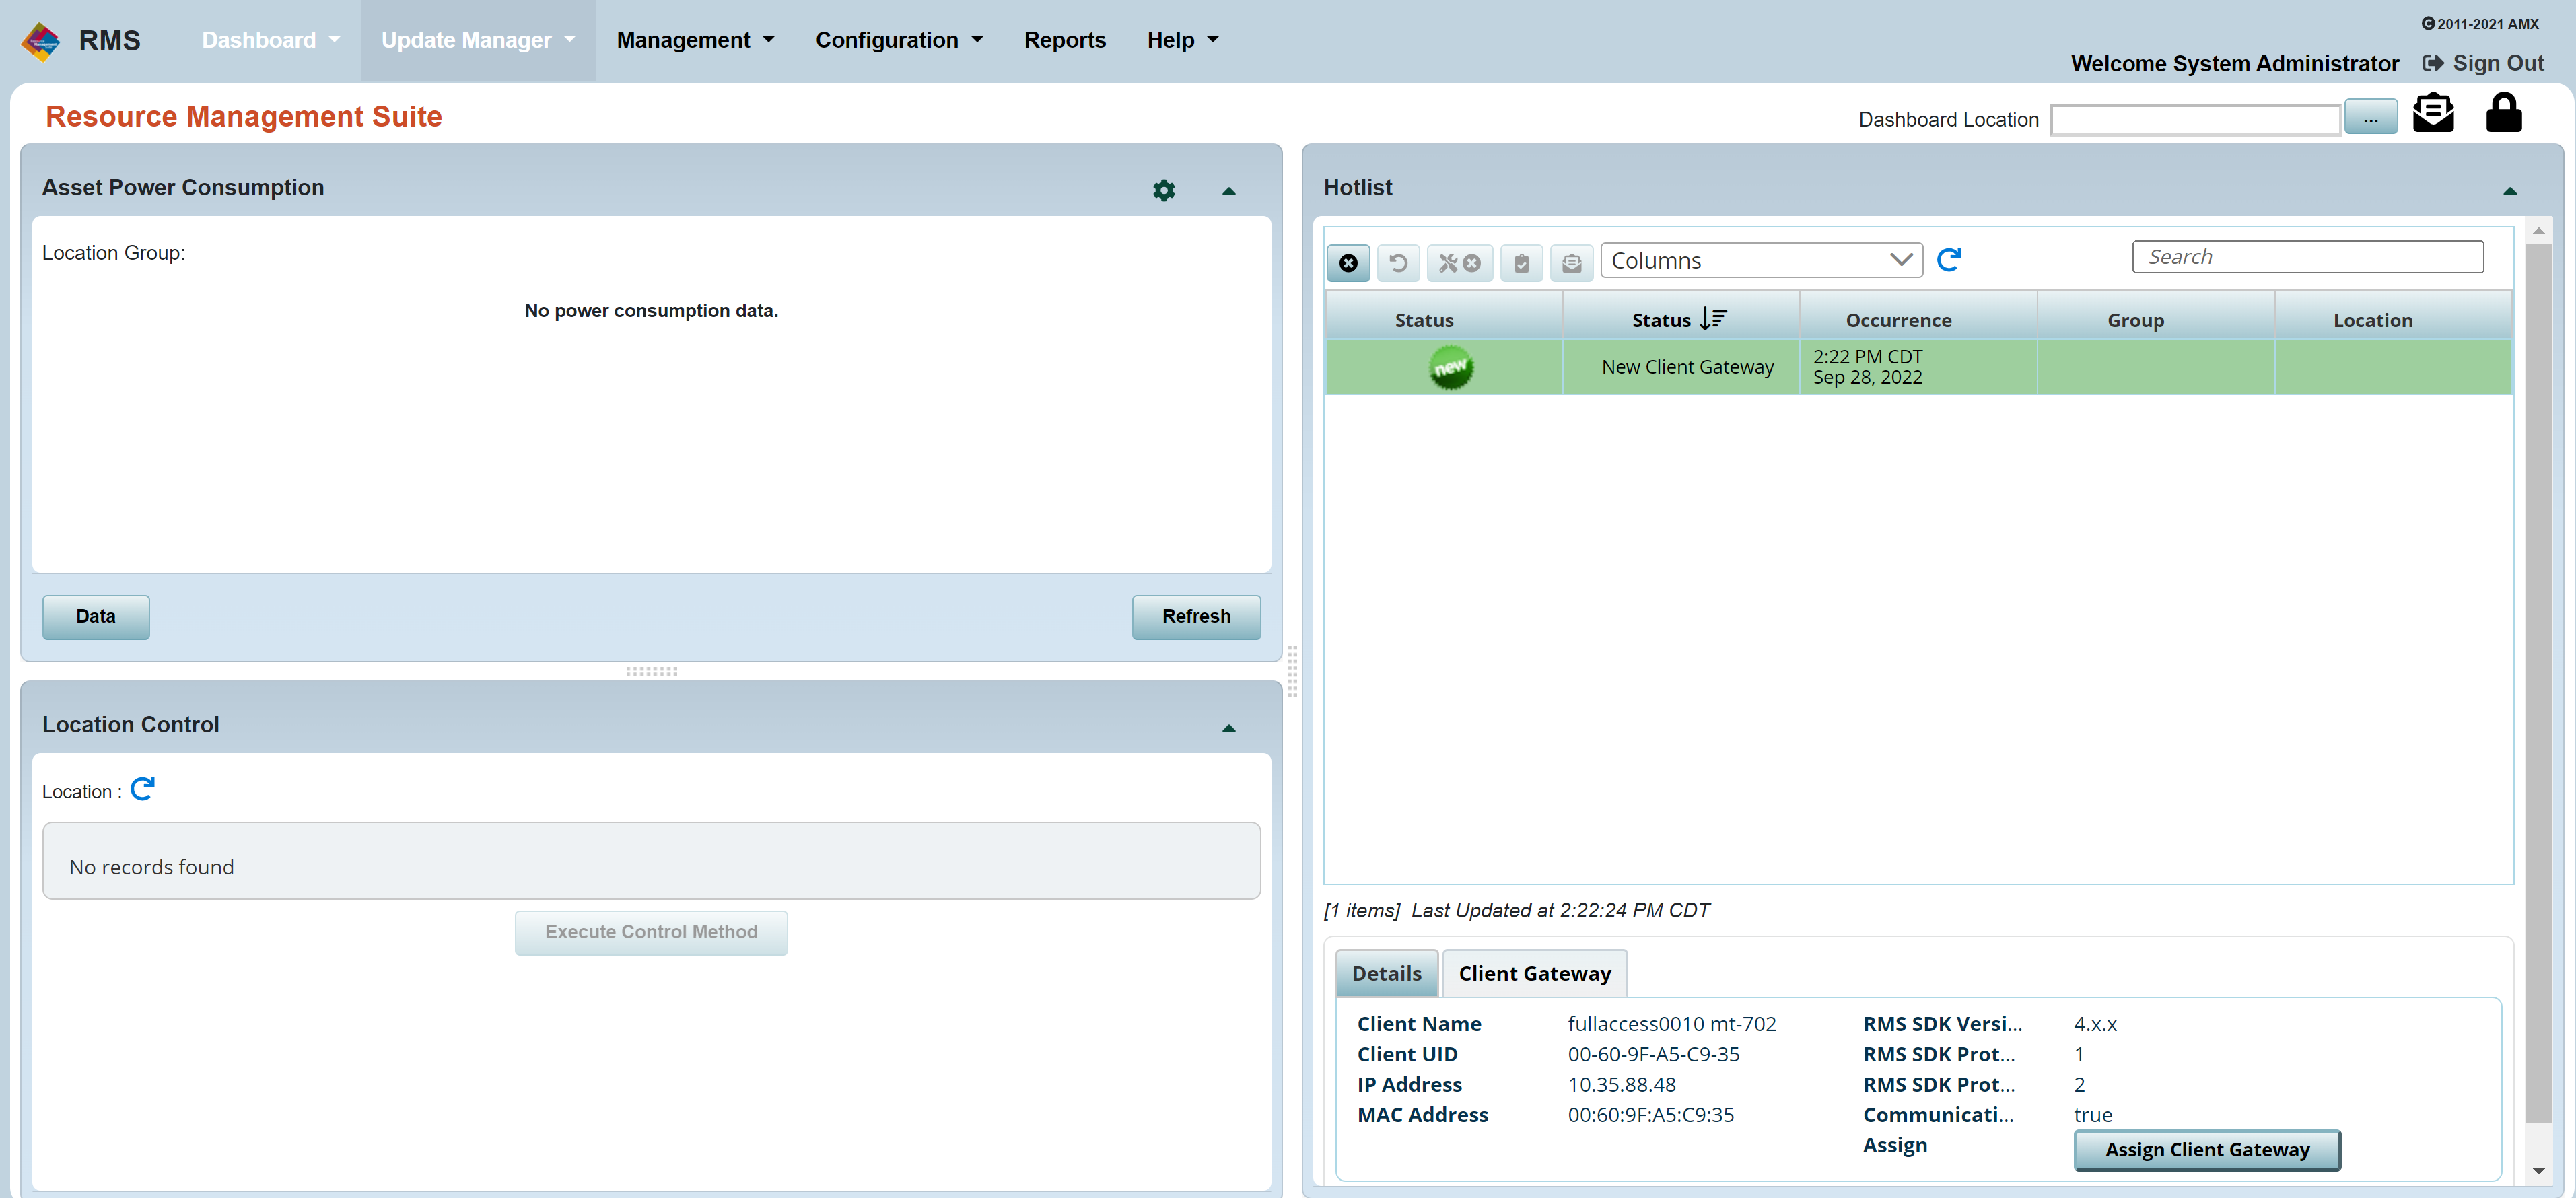
- Use the Assign Client Gateway dialogue box to assign the panel to the proper Location in RMS.
- Once the process has completed in RMS, the information will be saved on the scheduling panel. Press the Exit button to return to the base scheduling screen.
Now that the panel has been assigned in RMS, you will be able to reserve ad-hoc meetings and receive new meetings from the O365 mail system.