HyperTerminal
The HyperTerminal application can be used to upload firmware files into a Soundweb London device over the serial RS232 port if it is not possible to upload firmware over the Ethernet port.
HyperTerminal was included in earlier versions of Microsoft Windows. The last versions which included HyperTerminal were Windows XP and Windows 2000. It is no longer included with versions: Vista, 7, 8, 10, 11 but it can still be used in these versions.
The application can be launched in earlier versions of Windows from the location: Start/ All Programs/ Accessories/ Communications/ HyperTerminal
The files necessary for running HyperTerminal can be obtained from the Downloads section of this article. The Zip file contains two files: hypertrm.exe and hypertrm.dll. Extract these two files to the Desktop.
Locating and preparing the firmware files
The firmware files for Soundweb London devices can be found in the following folders. The firmware files use the extension: .firmware e.g. BLU100.firmware
Audio Architect - C:\Program Files\Harman Pro\Audio Architect x.xx\FirmwareUpdates
London Architect - C:\Program Files (x86)\Harman Pro\London Architect\Firmware
Identify the file which corresponds to the Soundweb London device model and then copy it to the Desktop. Do not remove the file from its original location.
Rename the file and change the extension to: .zip
The Zip file will contain a number of files. Extract the following file to the Desktop: App.bin
Connecting to the serial RS232 port
Connect the computer to the Soundweb London device using a Null Modem cable. A USB-to-serial or Ethernet-to-serial adapter can be used if the computer does not have a built-in serial port.
Open the Windows Device Manager and locate the serial port in the folder: Ports (COM&LPT). Make a note of the COM port number.

Preparing the Soundweb London device
Start the device in BootLoader Mode using the following procedure:
· BLU-80/32/16 - Press and hold any LOCATE button while applying power to the device. Keep the LOCATE button pressed until the front panel LCD displays the MAC address e.g. 000FD400C71A
· BLU-80x/32x – Press and hold any LOCATE button while applying power to the device. Keep the LOCATE button pressed until the front panel LCD displays the MAC address e.g. 000FD400C71A
· BLU-GPX – Press and hold any LOCATE button while applying power to the device. Keep the LOCATE button pressed until the front panel LCD displays the MAC address e.g. 000FD400C71A
· BLU-10x - Press and hold the LOCATE button while applying power to the device. Keep the LOCATE button pressed until the LED on the front panel show the following colors: COM (orange), STAT (orange), ERR (orange)
· BLU-8 - Press and hold the LOCATE button while applying power to the device. Keep the LOCATE button pressed until Buttons 1,2,3 and 4 are illuminated with an orange color.
· BLU-10 - Press and hold the BACK button while applying power to the device. Keep the LOCATE button pressed until the front panel LCD displays the MAC address e.g. 000FD400C71A
Uploading firmware with HyperTerminal
Start HyperTerminal by double-clicking the file: hypertrm.exe
The following prompt will appear: You may need to install a modem before you can make a connection. Would you Like to do this Now?
Click: No
The following Prompt will appear: New Connection. Enter a name and choose an icon for the connection.
Enter a name and then click: OK
The following prompt will appear: Enter details for the phone number that you want to dial.
Select the COM port of your serial adapter in the drop-down box: Connect using:
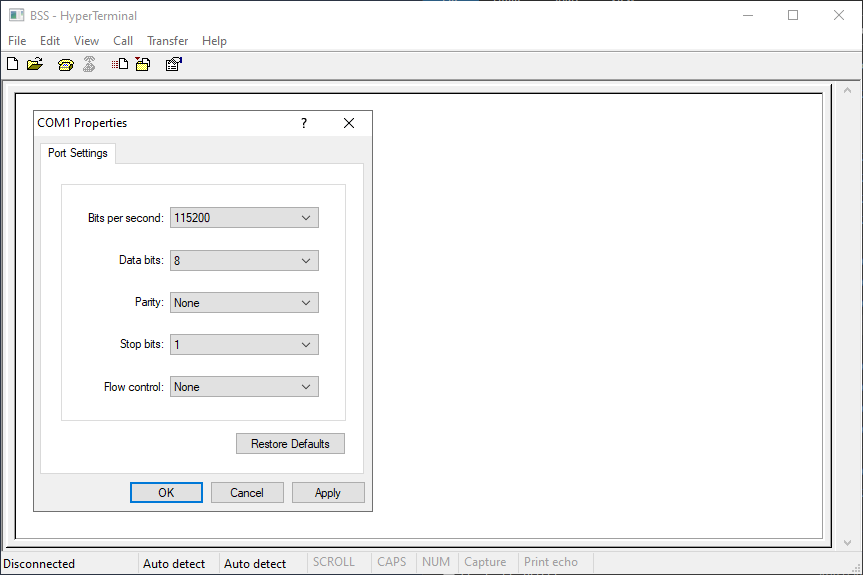
The following window will appear: COM Properties / Port Settings
Configure the Port Settings as shown below and then click: OK
Go to File menu and then select Properties.
The Properties window will appear. Select the tab: Settings
Configure the Settings as shown below.
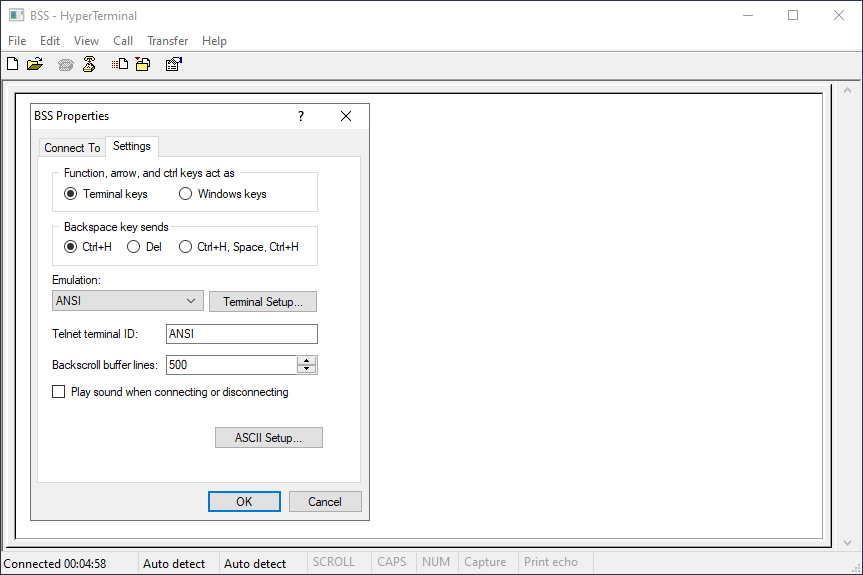
Click the button: ASCII Setup
Configure the ASCII Setup as shown below.
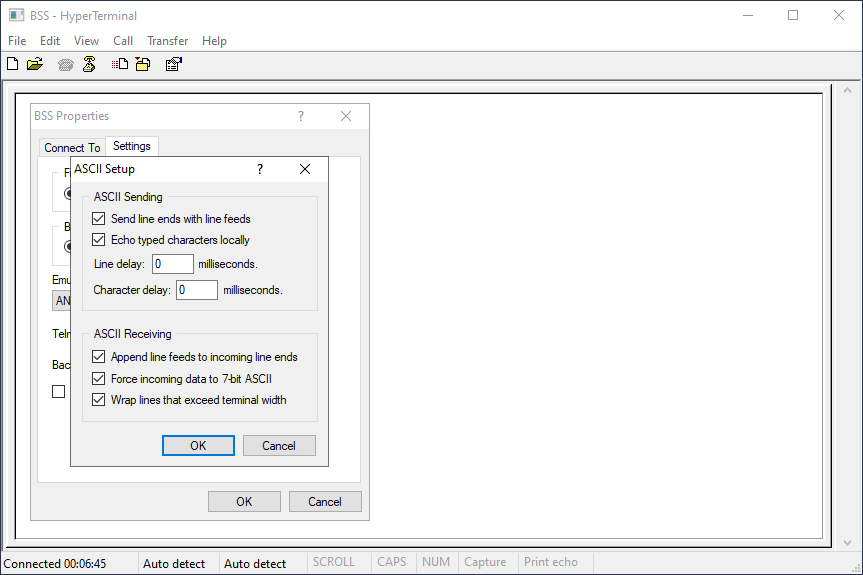
In the ASCII Setup window, click: OK
In the Properties window, click: OK
Go to the Call menu and select: Disconnect
Go to the Call menu and select: Connect
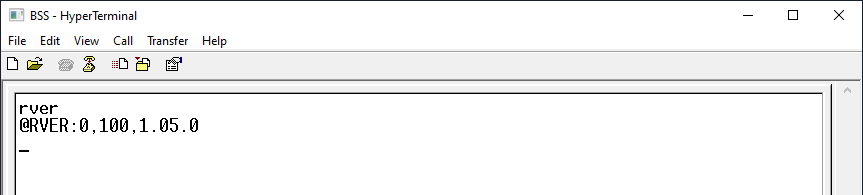
Enter the following command to confirm that the Soundweb London device is responding correctly: rver

The Soundweb London device should respond with the information shown below. This confirms that the device is responding correctly.
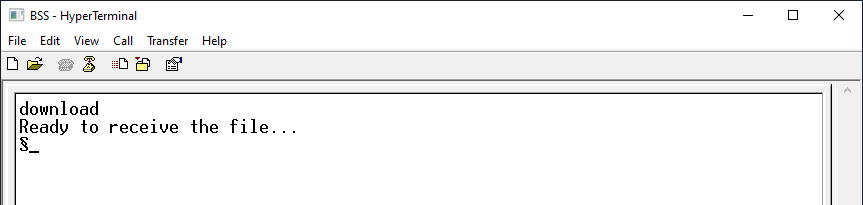
Enter the following command: download

The following message will appear: Ready to receive file…
Go to Transfer menu and select: Send File
Click: Browse
Navigate to the App.bin file and then click: Open
In the drop-down box, select: 1K Xmodem
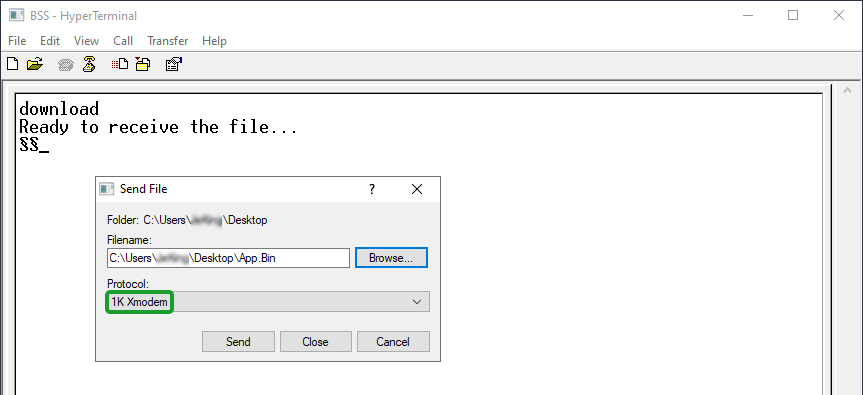
Click: Start
A window appear and the file transfer will begin.

The window will close when the file has been transferred.
The terminal window will display: Reprogramming App
The Soundweb London device will check the file and install the firmware.
The terminal window will display: Done. Resetting…
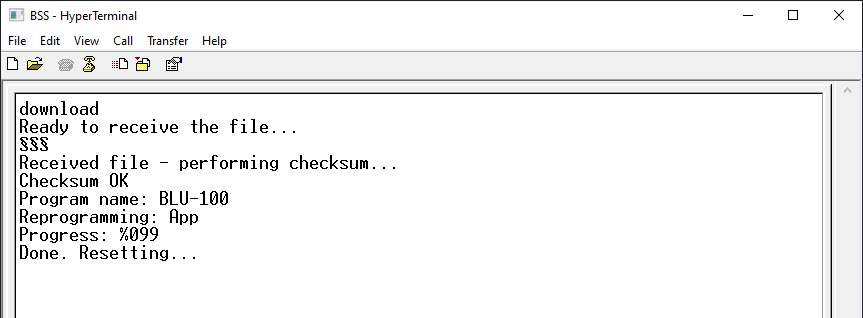
The Soundweb London device will reboot and start normally.
The device can now be used with Audio Architect or London Architect. It is normal that the software may prompt to update the firmware before going online.
