This design has a number of unique features including:
~ Telephone Hybrid for connecting to POTS or analog PBX
~ DTMF detection for zone selection
~ Tone feedback for operator prompt
~ Design Scalable to 16 + zones
In this design we will discuss creating a Telephone Paging Matrix that can be controlled with any POTS or analog PBX connected to Soundweb London BLU-102 Telephone input. The included design is 16 zones but can easily be scaled down or up as needed.
This design is based around the BLU-102 with a BLU-BOB as the analog outputs to the amplifier. You could also use a BLU-160 with a Hybrid card instead.
The audio configuration is very straight forward. There are some standard dynamics processing for tuning the the input signal from the telephone for maximum intelligibility, and a gain point for mute and level control. A delay is used to trap any handset noise at the end of the page.

This feeds a Matrix Router that is controlled via Parameter Presets to route the page to the desired output. A single output Crossover is on each output to provide a gain & mute point as well as some High and Low pass filters commonly required in distributed audio systems.
A 12 band parametric equilizer is provided to allow frequency correction for each output. The BLU Link outputs are used to send the signals directly to BLU Link amplifiers or Break Out Boxes [BLU-BoB's].
The key to this design is the Hybrid card and the Logic circuit. The circuit needs to accomplish several tasks:
~ Automatically answer an incoming call
~ Provide a tones to the caller
~ Detect a two digit DTMF number
~ Route the Telephone Hybrid audio to the appropriate zone
~ Automatically clear the router and reset the logic circuit at the end of the call
The first action of the circuit is initiated by the Hybrid card going off hook when automatically answering a call. This pulses a Logic End linked to a mute button on the tone generator circuit. This tone provides a prompt for the caller to enter the three digit zone number. This is run through a Logic Not to invert the signal and also removes the Reset [R] on all the Counter Triggers. This is done through a Logic Link between the Logic End and the Mute button in the Gain object on the input signal path. After the # key is pressed, another tone prompts the operator to begin their page.

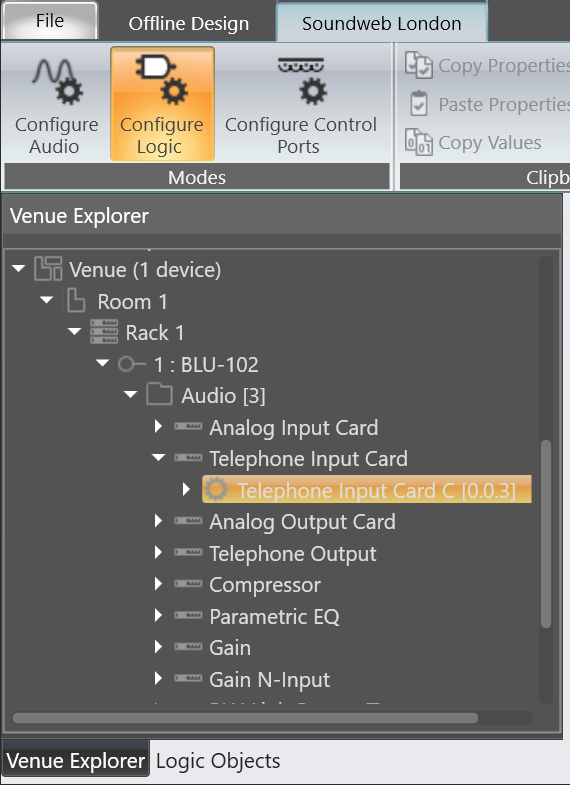
At the beginning of the Logic circuit are 11 Logic sources. These are linked to the DTMF detect parameters of the Telephone Input Card by dragging the DTMF parameter off the Venue Window onto the Logic Source object in the Logic Configuration window. The DTMF Detect values are found under the Telephone Input Card section of the Venue tree.


The next part of the logic circuit is the counter. There are several was to create a count within logic, for this example three individual Counter Triggers works best. The Counter Triggers are used to control the Logic Snapshots that are storing the numbers in the order they are pressed. Each Counter has its count property set to its position in the count; the first one is 1, the second is 2 and so on. A Logic Or sums the outputs of the 0 – 9 and # Logic Sources and is fed to each Counter Trigger. Every time a button is pressed it will drive the input on the counters. The outputs from the three counters are used to control the Store [S] and Recall [R] inputs on the two Snapshot objects as the count progresses.

The next segment of the logic circuit is the two digit register. There are two Snapshot objects; one for each digit of the zone number [01 – 32]. The 0 – 9 buttons are bused to both Snapshot objects. As the numerical buttons 0 – 9 are pressed; the corresponding input and the Snapshot Select of both Snapshot objects will change to high. However only the Snapshot object with its Store input also pulsed high will store the number on its input. On the first press the first Counter pulses the Store input on the first Snapshot. On the second press the second counter pulses the first Snapshots Recall and the second Snapshots Store. The third and final press pulses both Snapshot objects Recall.

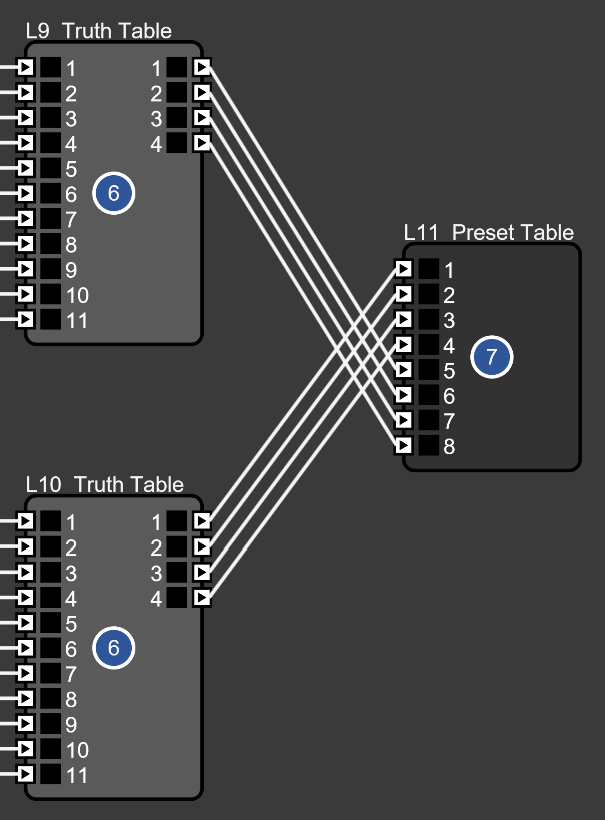
The output of the Snapshot needs to be converted to Binary in order to get the larger numbers we need and to utilize the Preset Table logic object. To do this we use a simple Truth Table. The table is configured as 11 inputs [0 – 9 plus a trigger] and 4 outputs [4 bit word]. Each decimal output of the Snapshot is converted to a 4 bit word; 1 would be 1000, 5 would be 1010 for example.
The # key is driving a Counter Trigger that is acting as the trigger input [#11] on the Truth Table. This counter can only be triggered if the # key is pressed AND it is the third key pressed. The trigger input on the Truth Table allows the number to be held in both tables until the # key is pressed allowing both Truth Tables to pass their values to the Preset Table at the same time. Without this hold, the router would change as each digit was entered causing an incorrect route until the final digit was pressed.
The final segment of this logic circuit is the Preset Table that changes the microphone router. The order of the words from the Snapshot objects are connected in a least significant to most significant order to make programming the table easier.

The last action of the circuit is to reset the router when the Hybrid card goes on hook at the conclusion of the page. When the Hybrid goes On Hook, all counters reset and the Snapshot objects go into Bypass; clearing the router and preparing the logic circuit for the next page.