Original AMX Tech Note: 983-Extracting Source From a Netlinx Processor
Extracting Source from a NetLinx Processor
As a preface, it is important to understand that the Source file “SRC” is not the code in the processor. It is what was uploaded in addition to the code when the programmer originally set up the system. The programmer can choose not to upload source. Additionally modules do not come out of the processor in the SRC file, so if modules were used, they will need to be located and put in the same folder with the extracted source in order to be able to compile and reload the code at a later date. In other words, don’t expect the SRC you pull off to necessarily just load back to a replacement processor without other items – it is not necessarily the entirety of the code on the processor.
The following assumes you already have connection to the processor.
1. NetLinx Studio should already be open and configured to communicate as described in the prior mentioned tech note.
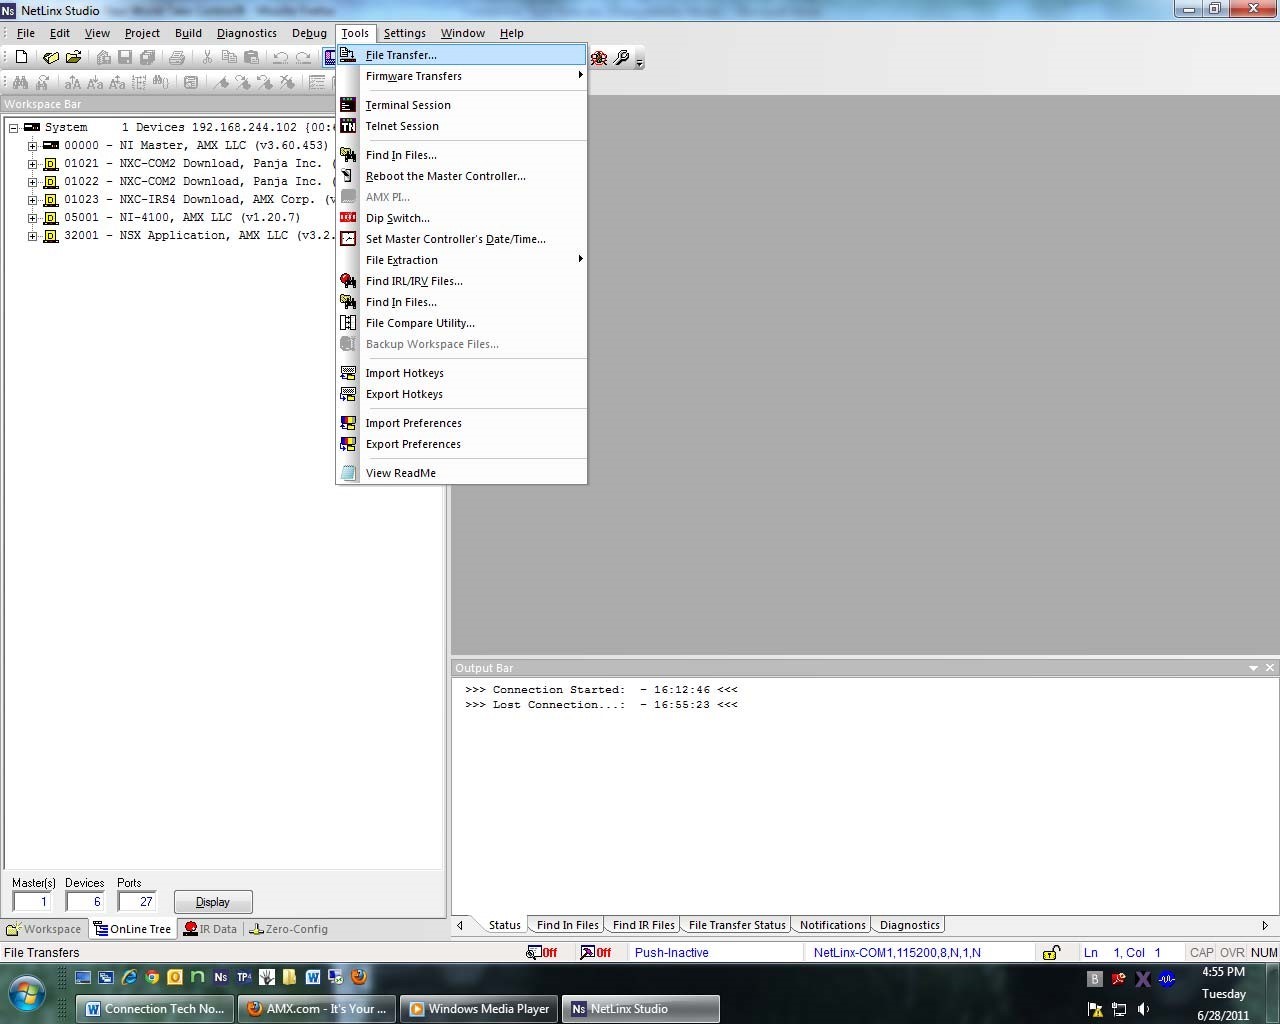
2. Select “Tools>FileTransfer” (see illustration)
3. In the “File Transfer” dialog, Click the “Receive”Tab
4. Select “Netlinx Source Code File” (See Illustration)
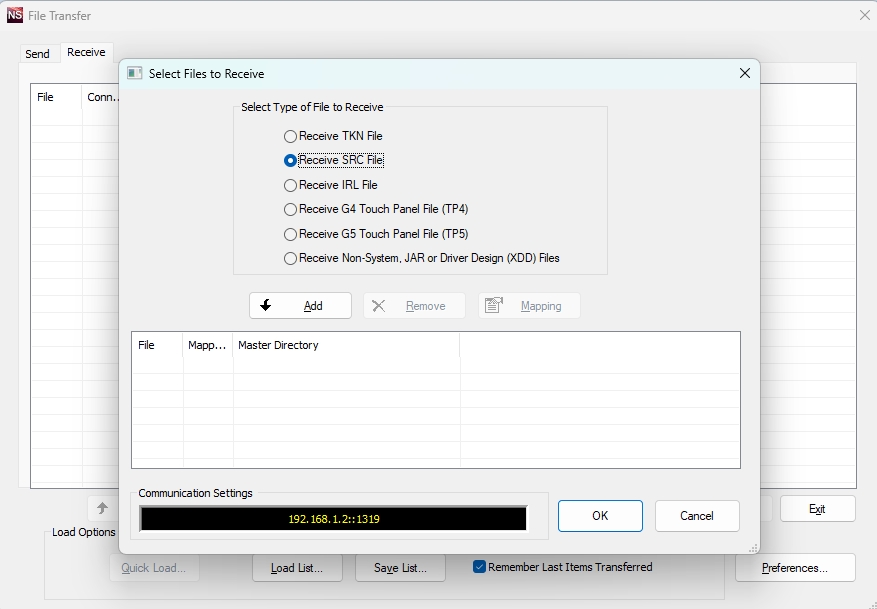
5. Select “Add”, name your file, and choose where to save it(see illustration)
6. Click “Save”
7. In the “Enter device mapping” dialog, set (see illustration)
a. Device number 0
b. Port number 1
c. System number 0
8. Click “ok”, “ok”, Click “Receive”, which saves the source to your computer.
9. Now go to “Tools>File Extraction>Extract from SRC” (see Illustration)
10. Browse to the folder containing your SRC file, select it, and hit “Open” (See Illustration)
11. The next dialog boxes are just for clicking ok to extract the files. Note the “Extract To” window. This is where your files will be located when extraction is complete (See Illustration)
12. Browse to the folder where the files were extracted and locate the AXS, double click it loading it in studio (See Illustration)
13. Click “Build>Compile”, if the compiler runs and you see a message saying “0 errors, 0 Warnings” the code is viable and usable. If you receive errors, you are likely missing modules and the code will need to be reassembled. Often if the Netlinx modules are from AMX, they can be found on the website. If they are DUET modules keep scrolling for instructions on receiving JAR files. If they are custom modules, they will need to be located elsewhere. Either way, call your programmer. (See Illustration)

Extracting Other Files from a NetLinx Processor
Follow steps 1-3 above.
- In the File select window choose Receive Non-System, JAR or Driver Design (XDD) Files

2. The window that appears after clicking Add will show you any other files that were loaded to the processor
- If you are receiving jar files, you do not need the .mf files, only check the .jar files
- If there were other files loaded to the processor, text files, json files, etc. you can receive those also
- After selecting the files you want, be sure to click the 3 dots in the top right and choose a folder to receive the files in to, this will typically be the directory where you received the code
- Click OK, OK, Receive

3. You can go back to step 13 above and recompile the code and look for further errors
